
First of all, you may remember version 2.x of my Garage Jukebox. It had three internal DVD drives and one external DVD drive. Since I upgraded the thing and started using flash drives, I no longer had use for the external DVD drive.
The drive was originally a CD burner I bought for $1.00 at a garage sale, and I hacked it into a DVD drive. So here I am yet again, hacking this thing.
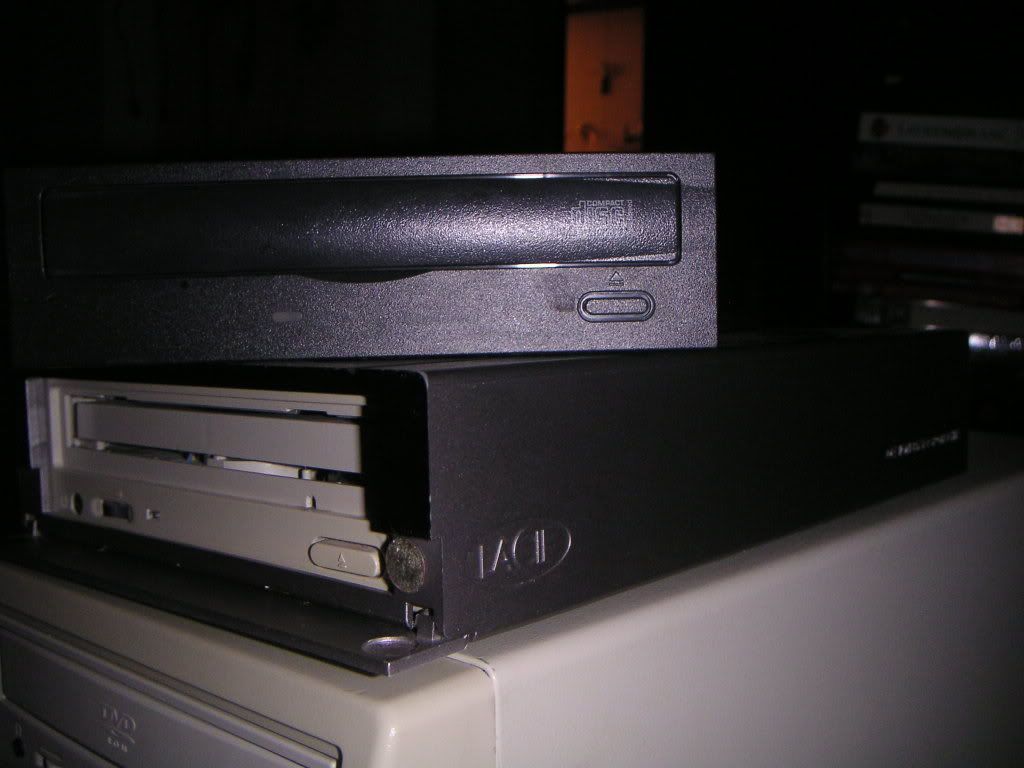
This is the picture of it with the original CD burner sitting on top.
If you'd like to build one of these things for yourself, here's a list of crap you'll need:
1 External USB CD/DVD Drive
1 IDE Hard Drive (any size)
1 5 1/4" to 3 1/2" hard drive adapter
1 5 1/4" cooling fan plate
1 Drill (for modifications!)
Misc Screwdrivers
So, I take the thing apart. Here's a couple piccys of what it looks like when it's apart:
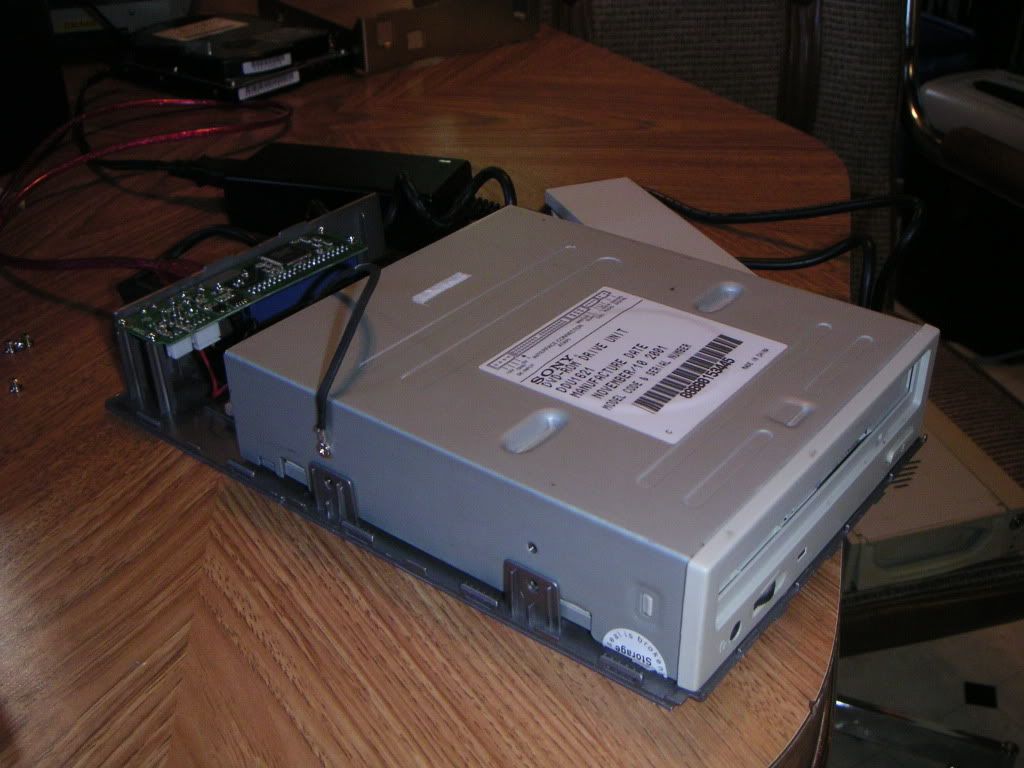
You'll notice that all they do is slap a regular IDE drive into the case with a simple adapter board. This particular version has a 'special' IDE cable (You may need to make note of this)
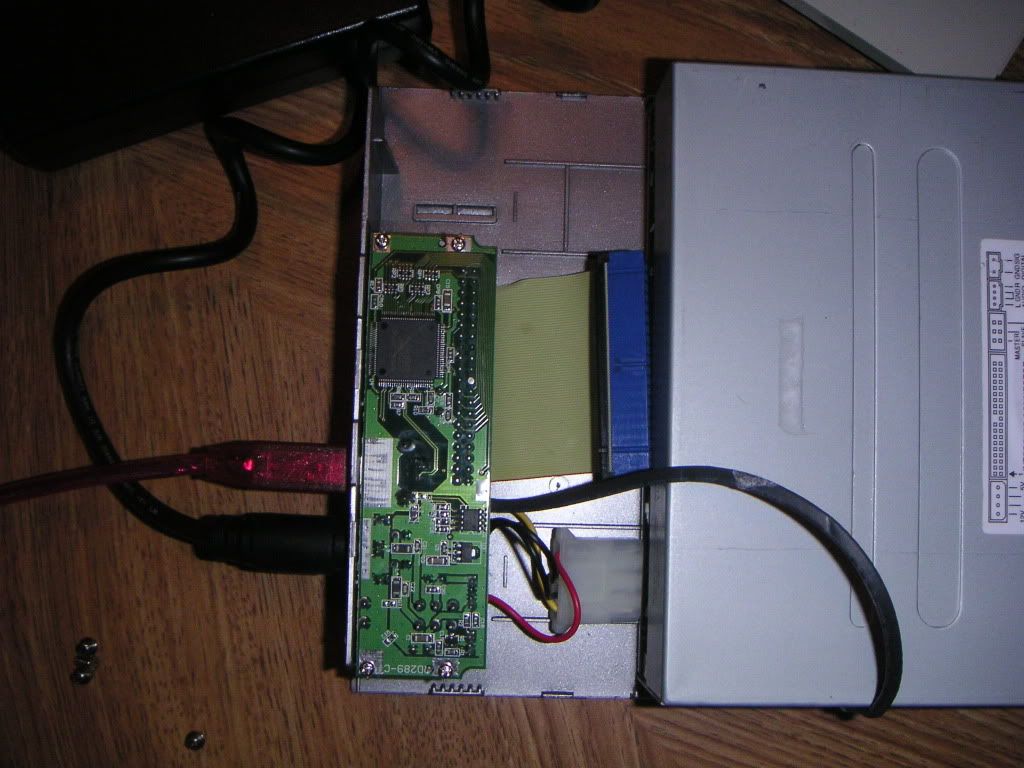
So, I remove the drive and prepare to install the hard drive. To properly get a hard drive into this thing, I needed an adapter that allows a 3 1/2" drive to fit into a 5 1/4" bay. You can usually find these things in old 386 and 486 desktop PCs, either with hard drives or 3 1/2" floppy drives. I believe this particular version had a floppy drive, so I had to drill a couple extra holes to make the hard drive mount properly.

I had to put in a slightly longer IDE cable because the old one wouldn't reach. The easiest way for me to accomplish this is taking an IDE cable out of an old PC and cut off the end that goes to the mother board. In other words, the connectors should be mounted on the same side of the ribbon cable. (sorry I don't have a piccy, the one I took turned out really blurry)
As you can see, I originally put a 5 1/4" bay plate in the front to seal it up nicely. However, the unit got pretty warm inside, so I took a nice 5 1/4" bay plate dual cooling fan thingy that I scrounged out of an old pc, cut the mounts off, and stuck it in place of the plate. It nicely interconnects with the hard drive which powers the whizzing goodness of the cooling fans.
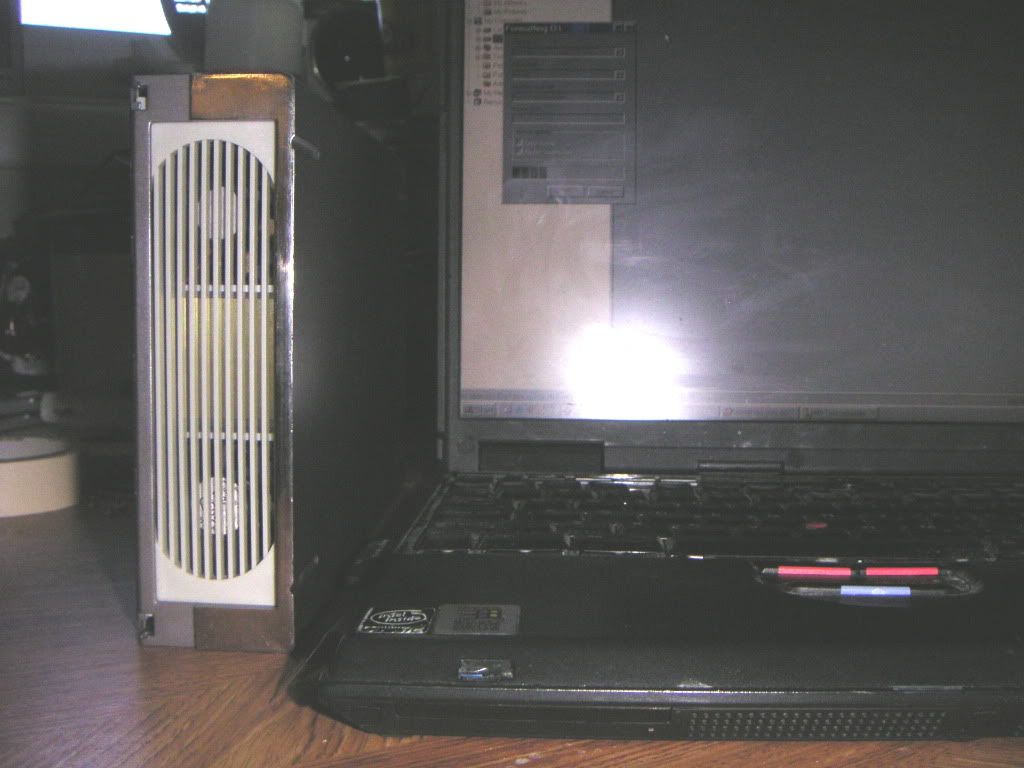
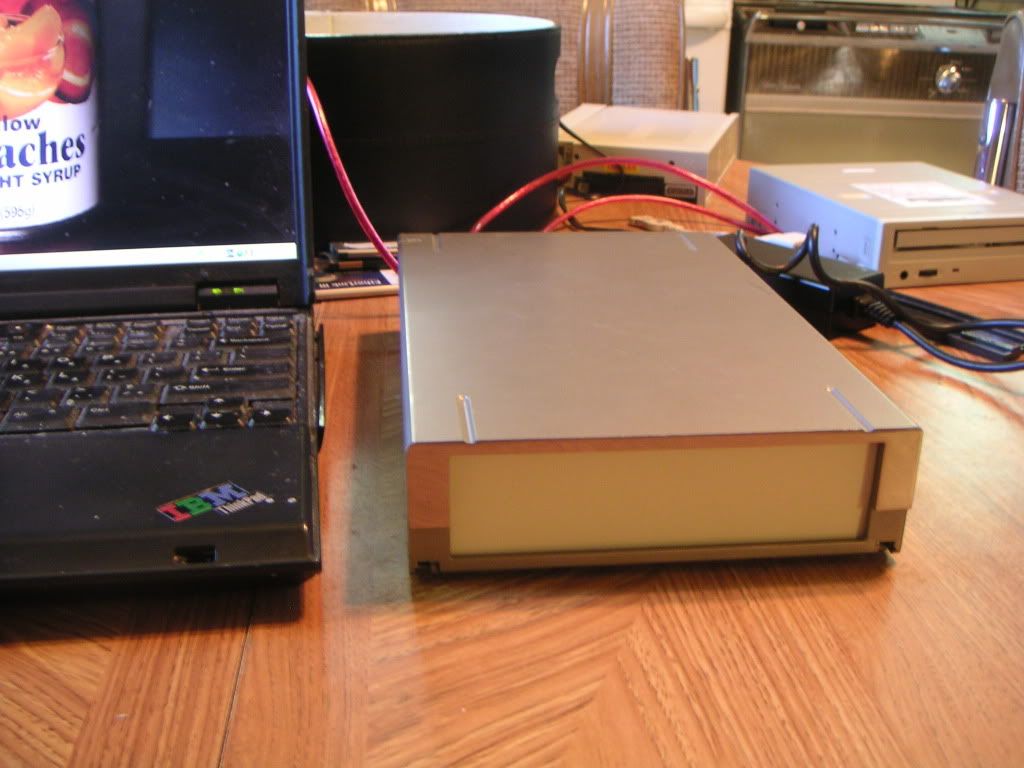
So there it is, sitting nicely beside my laptop.
This drive happily works in Linux, which recognizes it as a 60G removable hard drive. Windows, however recognizes it as a LaCie external CD Burner AND removable media AND a Western Digital hard drive. How goofy is that? Regardless, it works fine in Windows.
Formatting was a bit of a different story. I tried to format the drive through USB in Windows, which took about 20 minutes and then told me that the format had FAILED. So, of course I tried using Linux.
Ubuntu has a tool built into it called "Gparted" which manages partitions, but it can also be used as a Live CD which can you can boot off. Gparted took about five seconds to successfully format the drive through USB.
So now, I have a nifty external USB hard drive to stuff all my .wav files on.
Incidently, I found the 60G hard drive in a box on hard drives I picked up from behind the computer recycling place. There were also a few 'interesting' things on the drive which I will be posting within the next entry or two.
Anyway, I hope you enjoy your new found knowledge and begin scrounging computer parts to make your own external hard drives! This would have cost me a couple hundred bucks brand new, but of course I prefer to spend $1.00, scrounge some parts, and take a bit of time to build something myself.
1 comment:
Hah, those good old harddrives with "?" on them. Last year I smashed a lot of them but they keep turning up...
Post a Comment