Showing posts with label Hacks. Show all posts

Sunday, February 13, 2011

Found: Heavily Modified Commodore 128D

It seems that I've been quite lucky with finding old Commodore computer stuff over the past little while. Today I picked up some Vic-20 stuff from a friend on Facebook. But a couple weeks ago, I found something quite special, unique, and incredibly cool behind the big bad recycling depot...


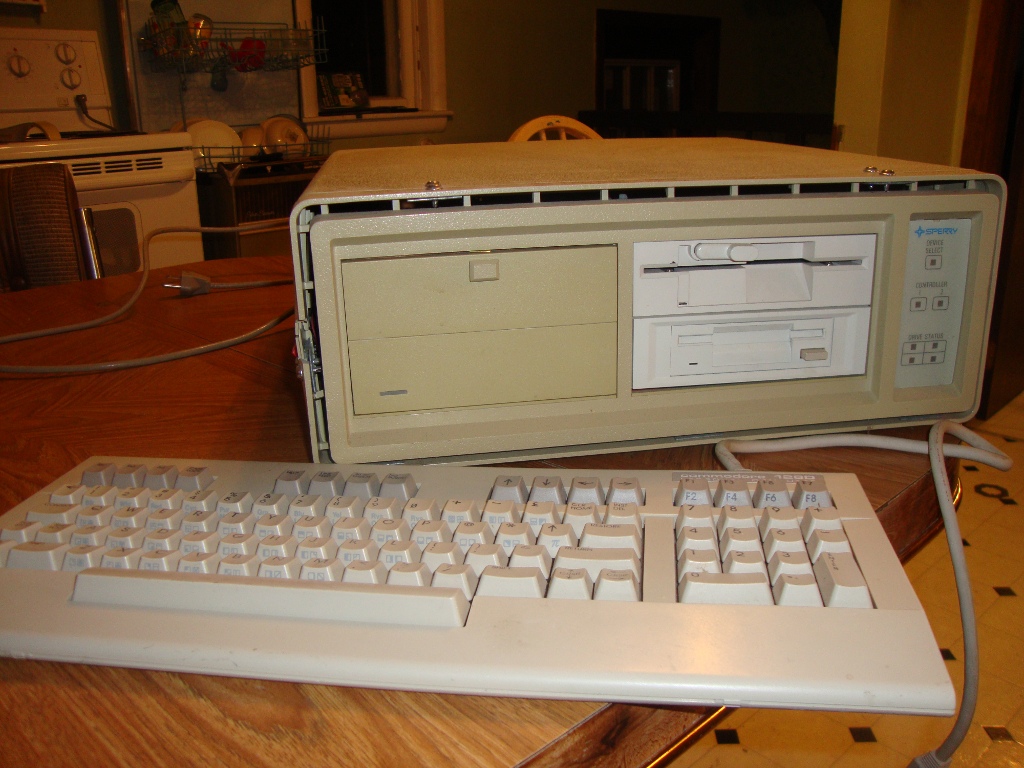
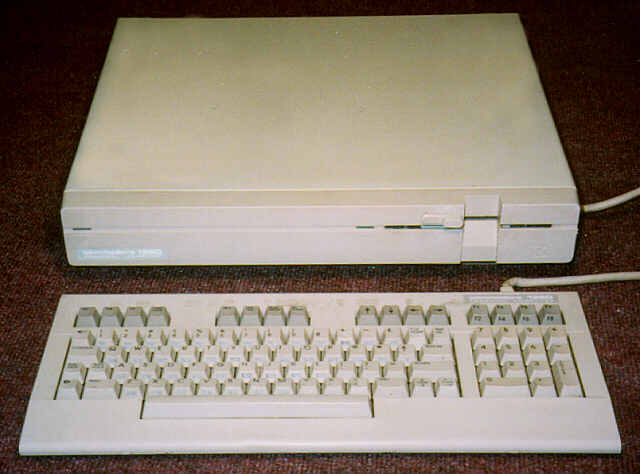
For those of you who know what Commodore computers look like, you'll see that this does NOT look like a Commodore computer. But it truly is. It's a Commodore 128D. This is what it's SUPPOSED to look like:


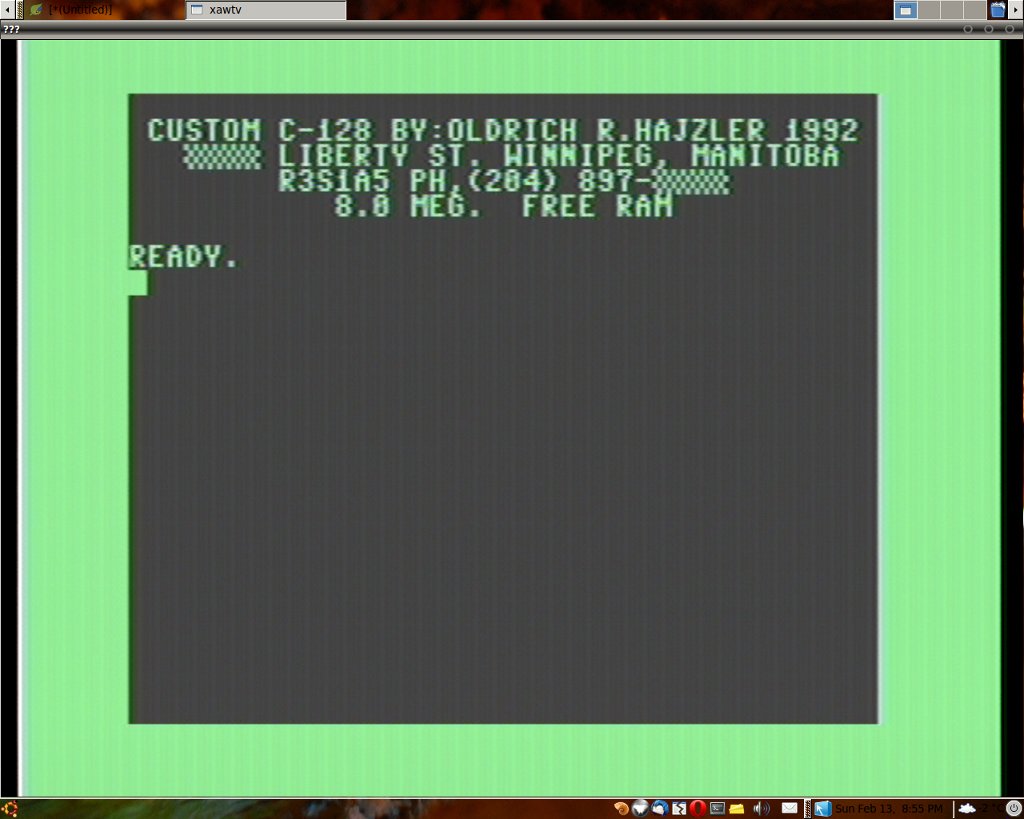
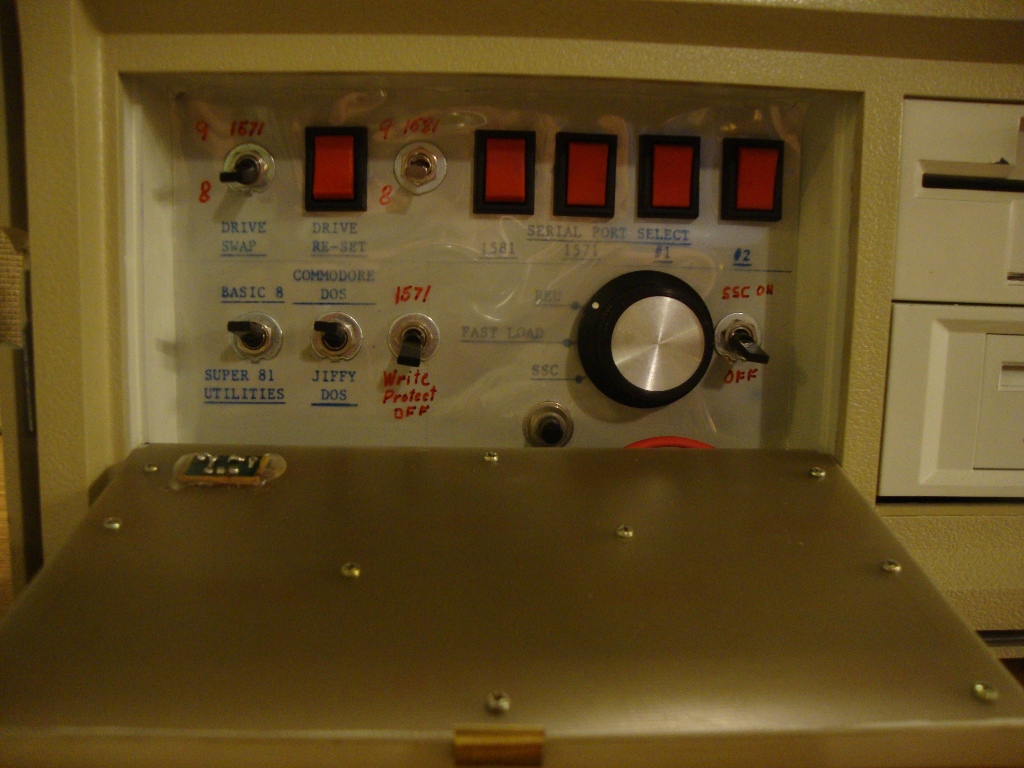
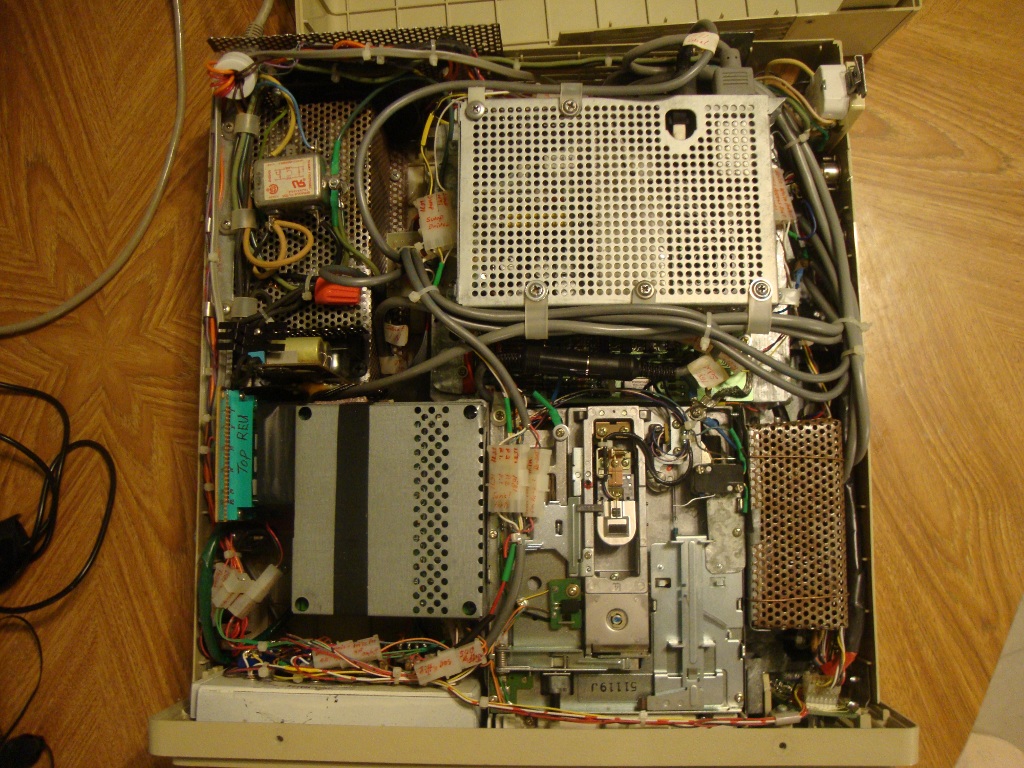
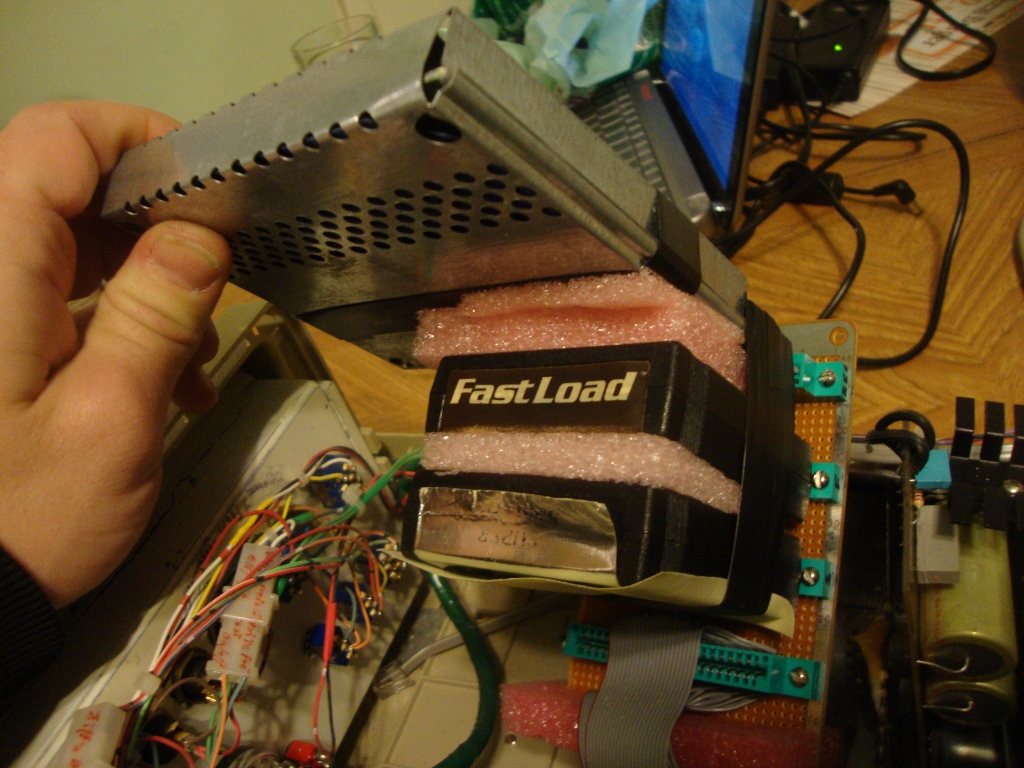
Somebody took this machine and put it into a PC-style case. But that's not all they did. They also jammed in a 1571 floppy drive, a 1581 floppy drive, a Modem, a home-made internal cartridge bay which includes a Fast Load cartridge, The REU expansion, and the Super 81 utilities. The Jiffy DOS upgrade has also been added, and it seems the ROM has been customized since the guy's name, address, and phone number are displayed whenever the computer is turned on in 128 mode. (I edited out the sensitive information)


To change between different modes and settings, there is a flip-down door on the front panel which exposes a bunch of custom knobs and switches to tweak the 128 to your personal needs!


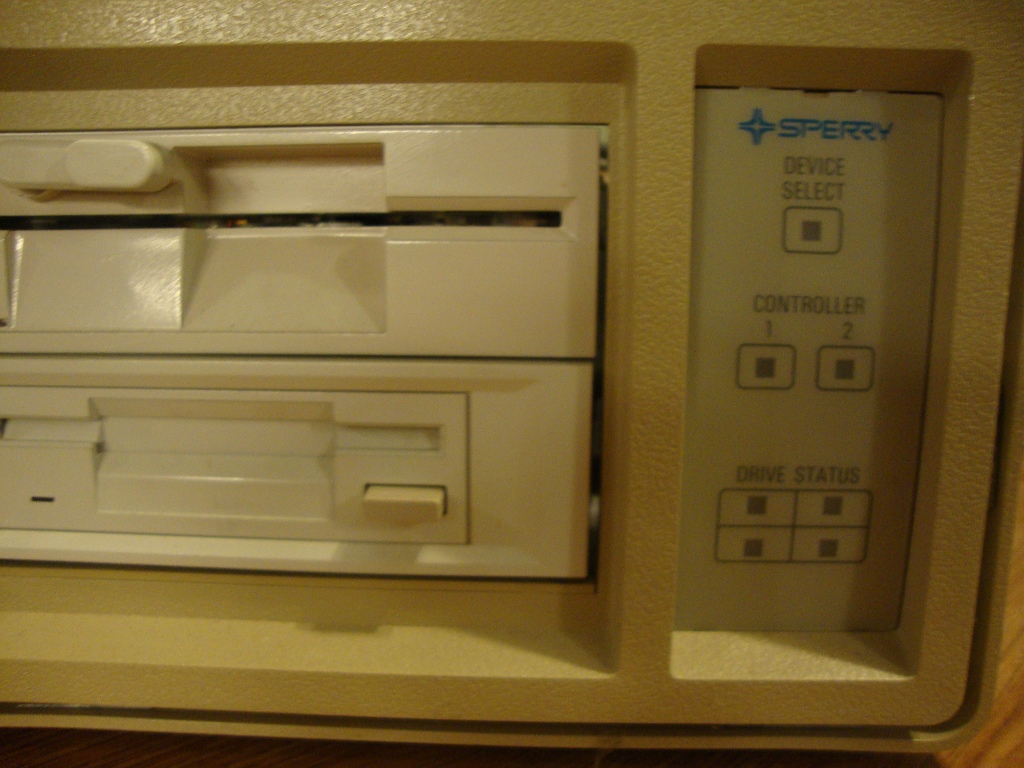
Even the original LEDs on the front panel of the case have been wired up!


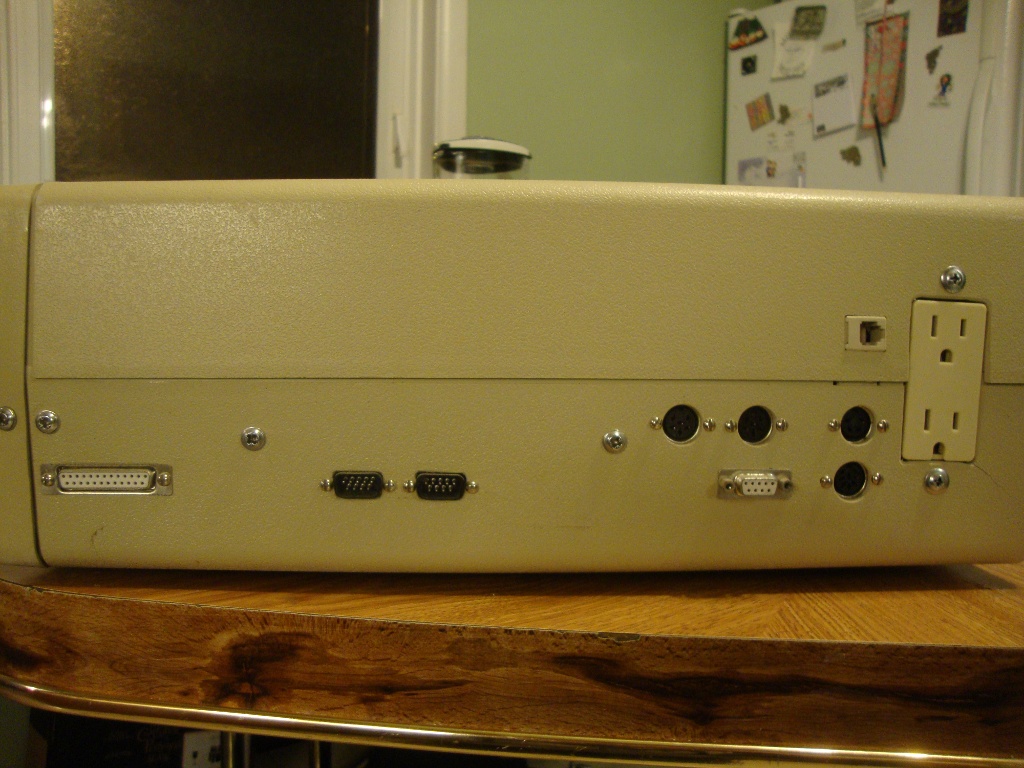
All the ports on the machine (except the tape drive connection) have been mounted on the left side of the case. Also included is an electrical outlet where you can easily plug in your monitor and printer!


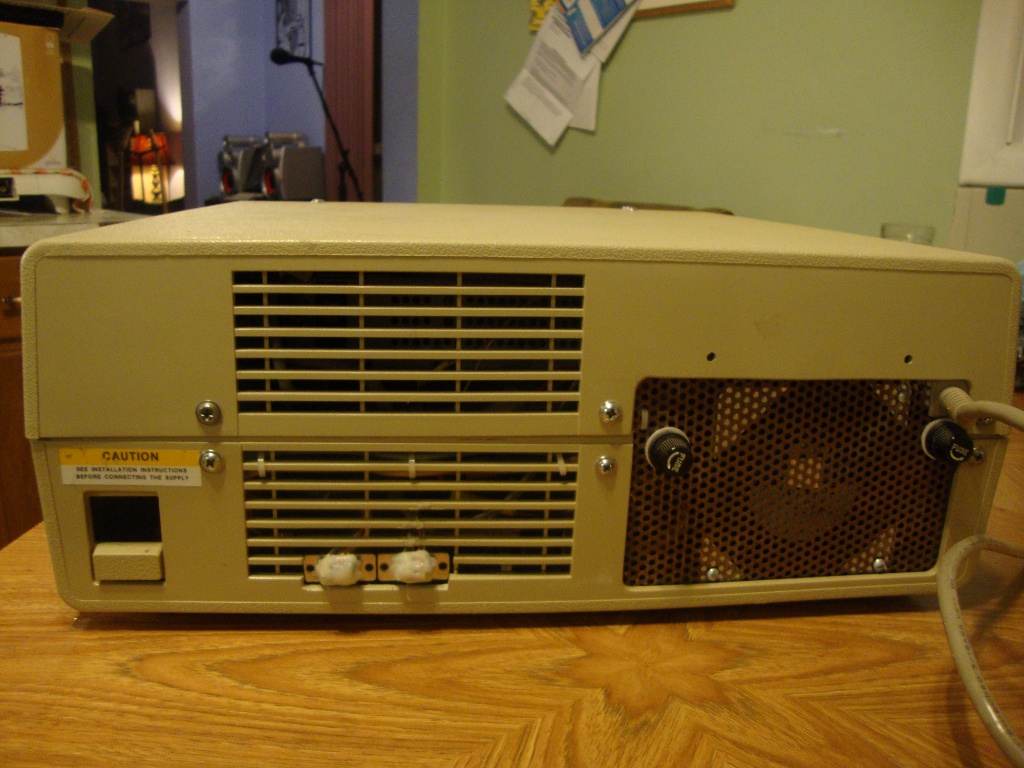
I believe that the main power supply in it is NOT a Commodore supply, but something that was hacked together.


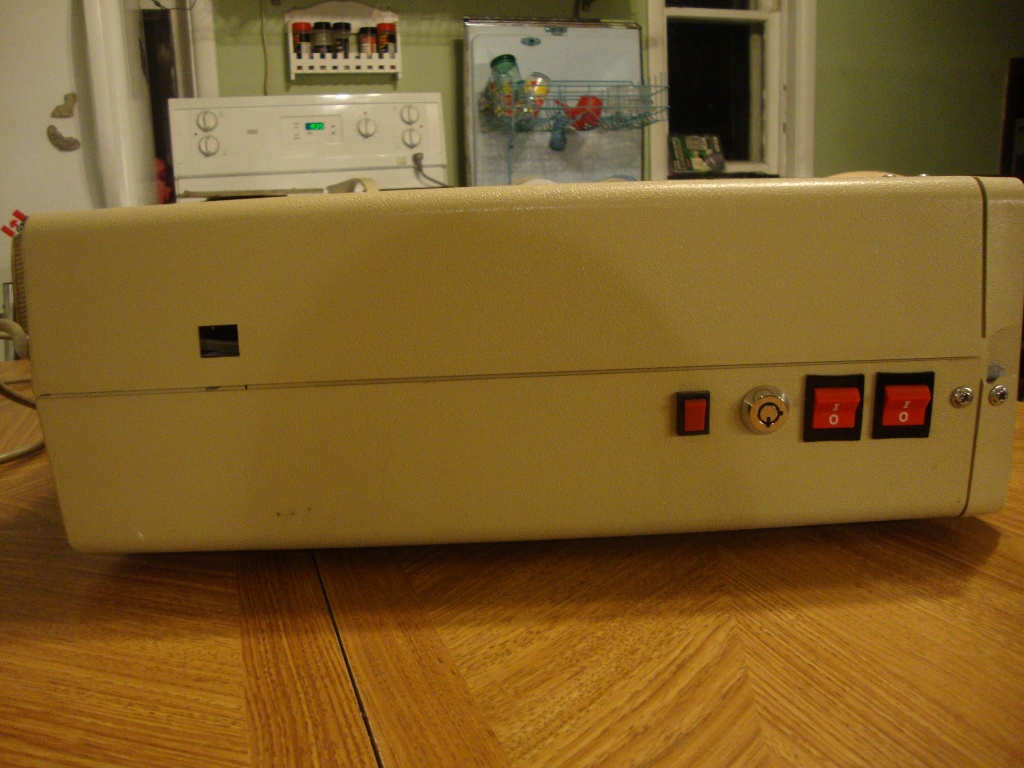
Here are the reset button and power switches for the Computer and Floppy Drives. I'm guessing the square hole is where the modem connector was originally supposed to go.


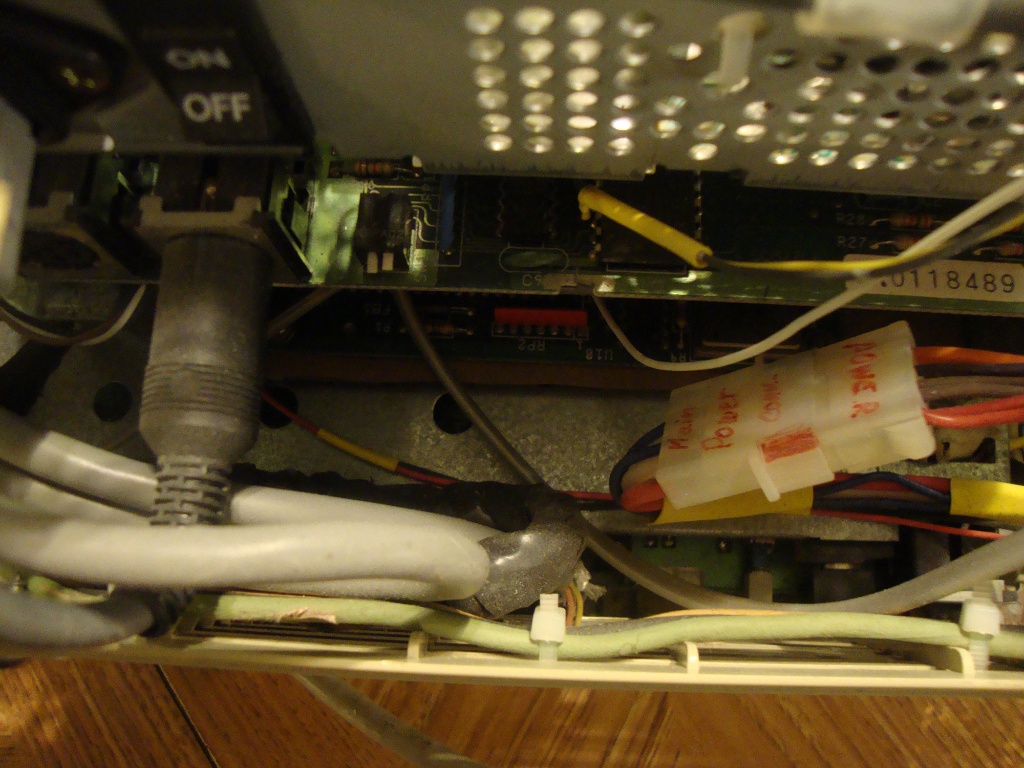
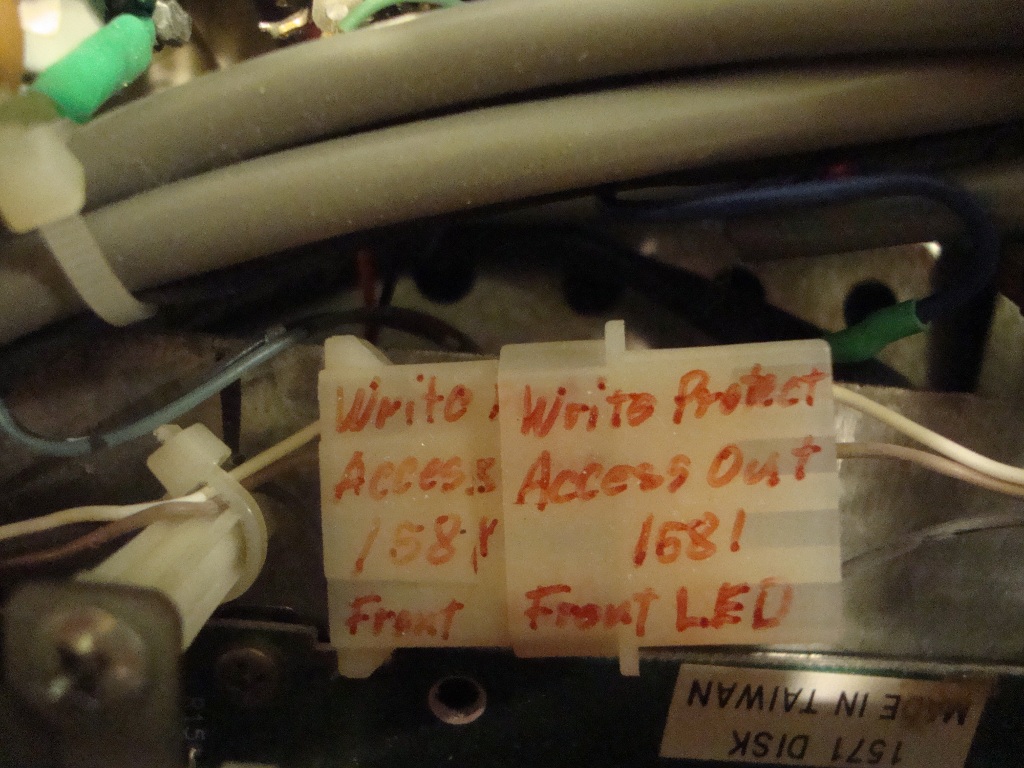
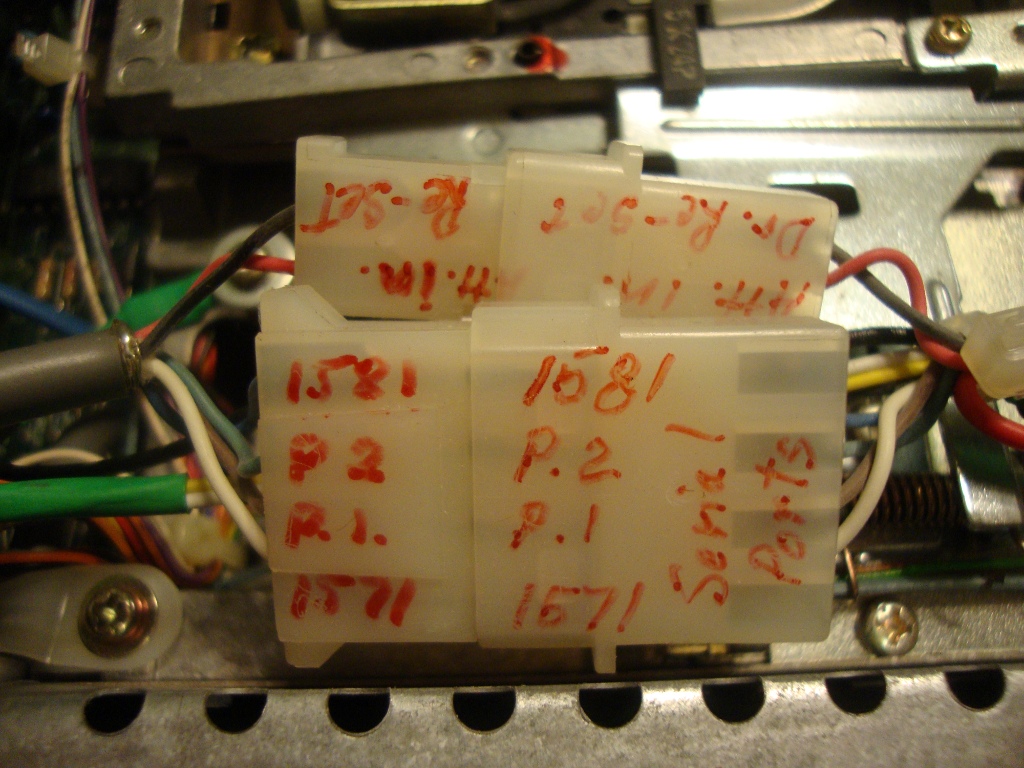
And now, here's some pictures of what the inside looks like. The actual C-128 mother board is sadly buried right at the bottom of everything.


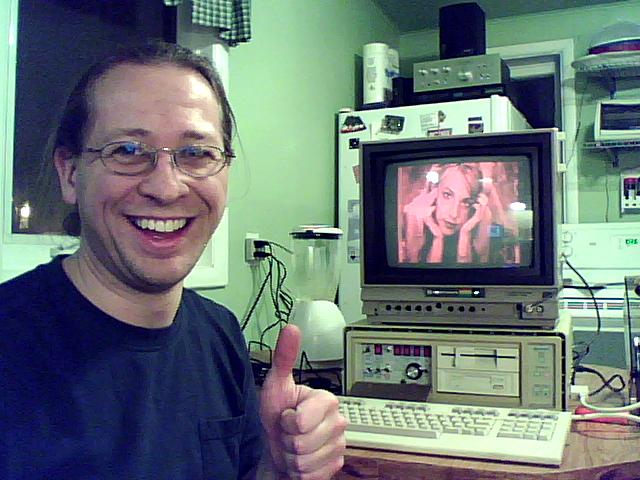
And here's me, enjoying this fantastically modified Commodore 128D by watching the Britney Spears slideshow! (WARNING: Link NSFW)

Wednesday, November 11, 2009

Garage Jukebox v4.0

I just sent off a nasty letter to Photobucket for putting some sort of shitty Disney Pixar flash crap on their main page that's preventing both Opera and Firefox from loading it properly. I had to log in by pressing the 'stop loading' button before the Disney garbage loaded up. If this continues, I'll be using something else to host images. I'd use the thing included with blogger, but it's not as flexible as hosting them somewhere else. Anyways...

Yes, I built another jukebox. However, this one isn't for me. I built it for someone else, and it's a bit different. Version 3.0 is still running reliably in my garage.

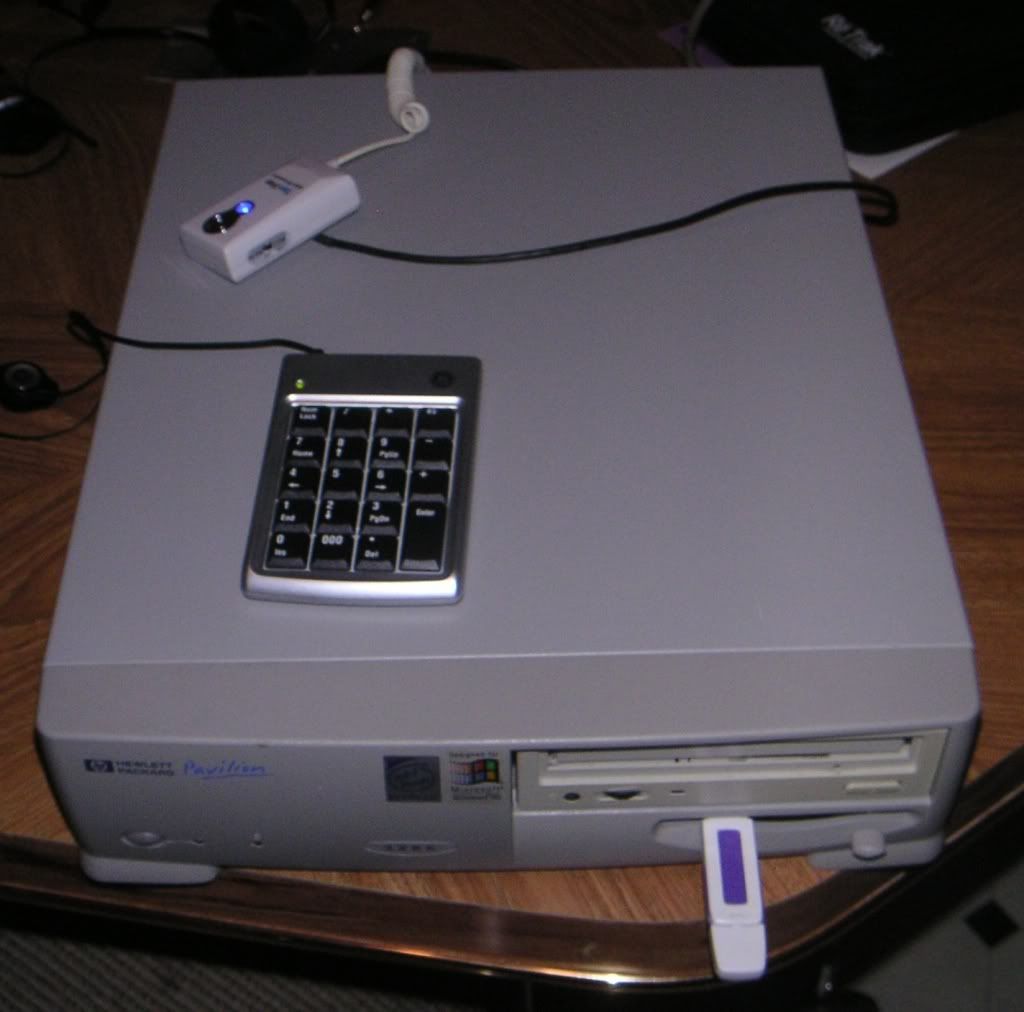
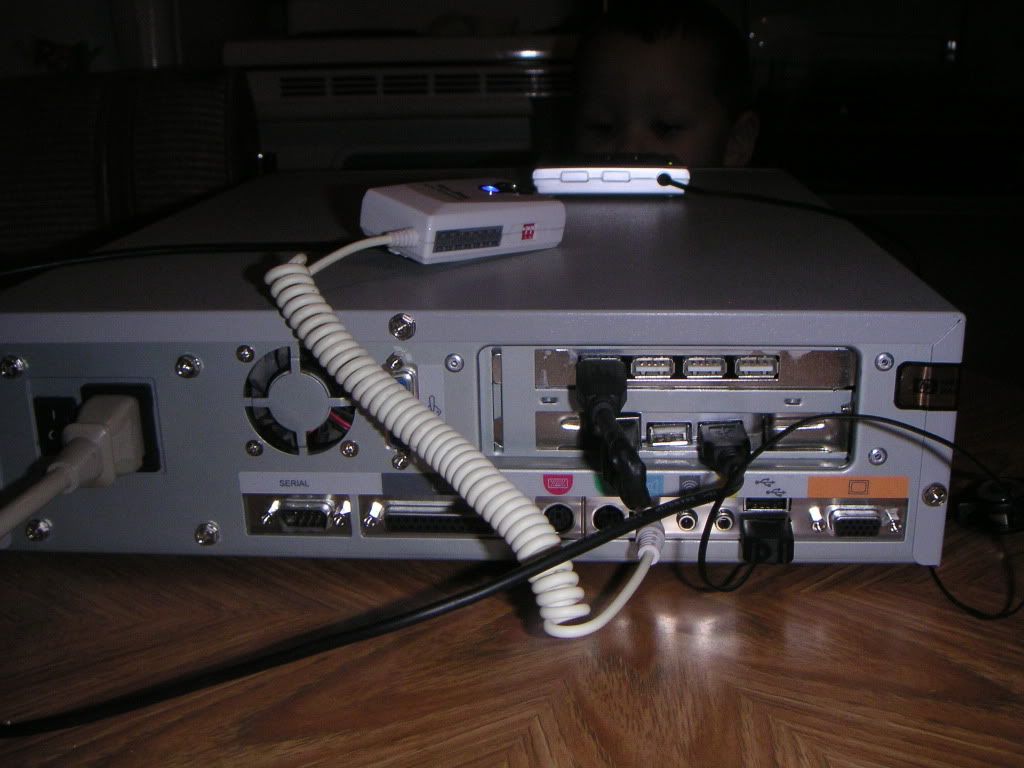
I chatted with them some time ago about building one for them. The request they had is that it didn't take up a ton of room, so I kept that in mind while building it. So, here it is:


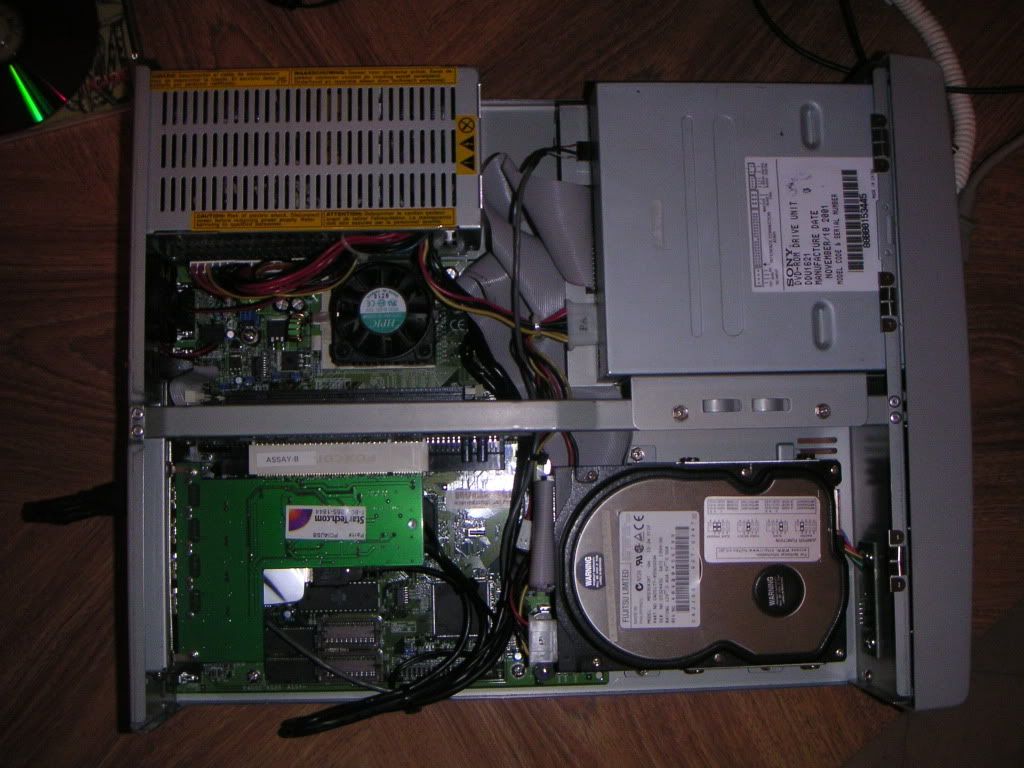
It's another desktop PC which is about 1/3 the size of a regular tower which is exactly why I used it. It's a Pentium 233 MHz with 128M of RAM. I think it's a 6G hard drive in there, but don't quote me on that.

The thing with the blue LED sitting on top is an FM transmitter that I modified to power off the USB port as opposed to AAA batteries. I'm not including this with the computer, but I may keep it in mind for the future option of building it internally.

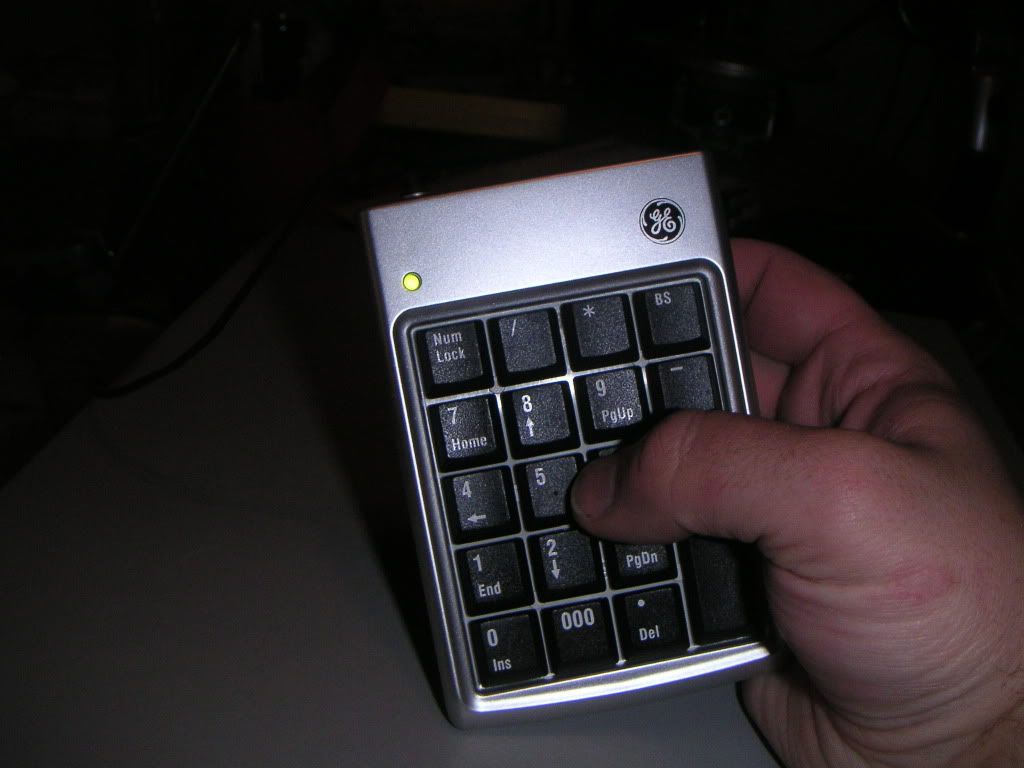
I built this computer to work WITHOUT a monitor, keyboard, and mouse. Instead, everything is controlled by a usb number pad which feels more like a remote control:


The computer is running Damn Small Linux version 4.2. The reason why I went with this version is because I initially wanted to control everything through the power button on the front, and this version of DSL supported ACPI. Unfortunately, the computer was too old to support ACPI, so I had no choice but to add on something to control it, and the number pad was perfect!

I was able to alter the designation of the keys on the number pad through the configuration file ".jwmrc-keys". This is a configuration file for the window manager. I re-assigned the following keys:

up - Vol up
down - Vol down
left - Previous track
right - Next track
5 - Pause / Resume
. - Rescan drives for MP3s
0 - Play audio CD
- - Unmount / eject all drives
+ - Mount / load all drives
* - Shutdown
/ - Update system

Of course, I'll have to include a legend since I'm not re-painting the keys. But if you look at the number pad, you'll see that this is a pretty straight-forward control give or take a few commands. The keys I made a point NOT to use were backspace and enter, since I'd need them to modify the system if need be.

The "update system" key is a really cool feature I built into it. I know my scripts aren't perfect and could use some tweaking, which is why I added this. What happens is you boot the thing up with a flash drive in it that contains updated scripts. After it boots, it automatically plays an audio file off the flash drive telling you to press the / key to update your system. If you don't do it, it repeats this message over and over again. Once you press the key, it executes a script on the flash drive that copies over all the new files. Once it's done, it plays an audio file telling you your system has been updated, and tells you how to proceed with normal operation.

And now, let's look at some pictures!


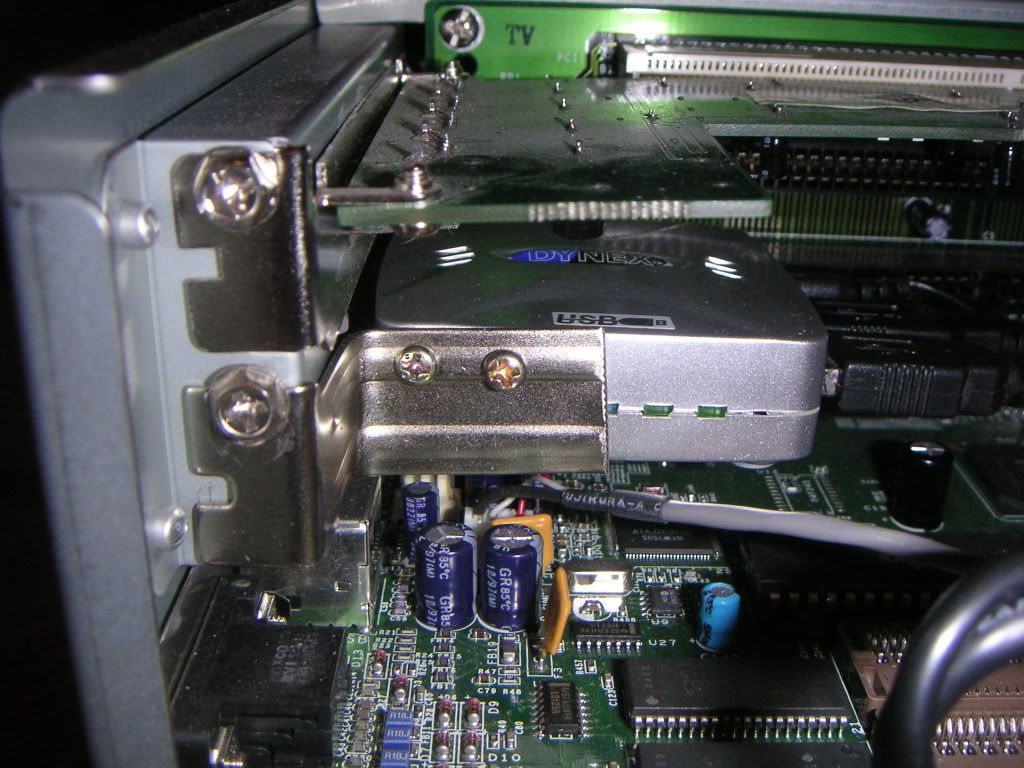
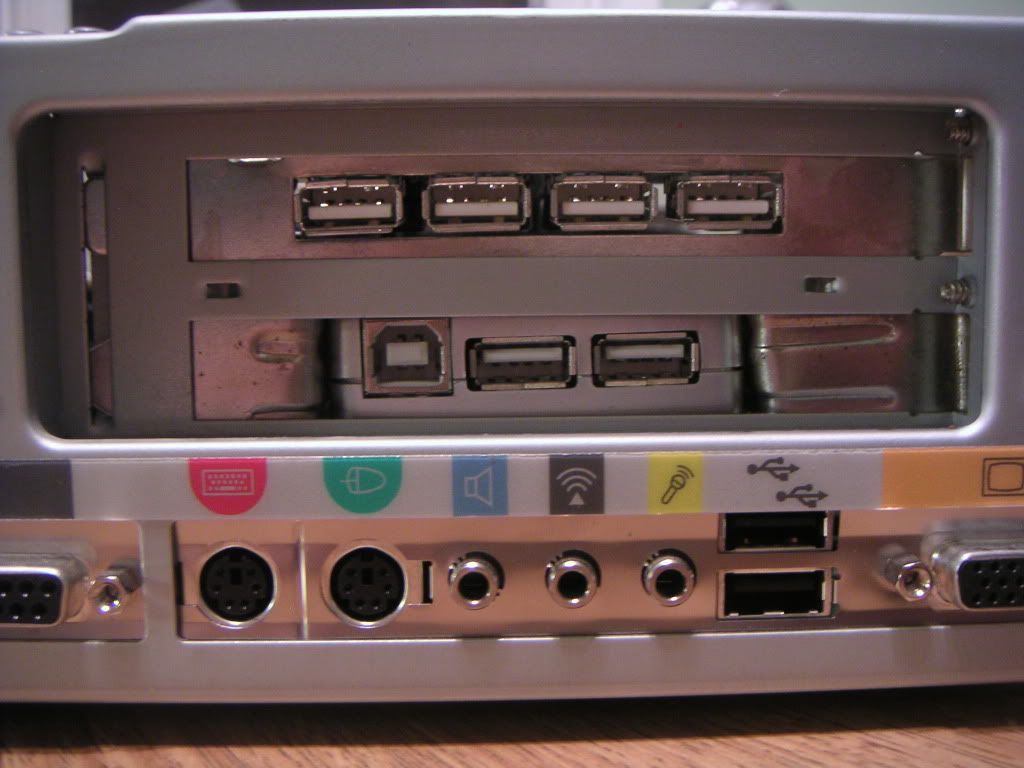
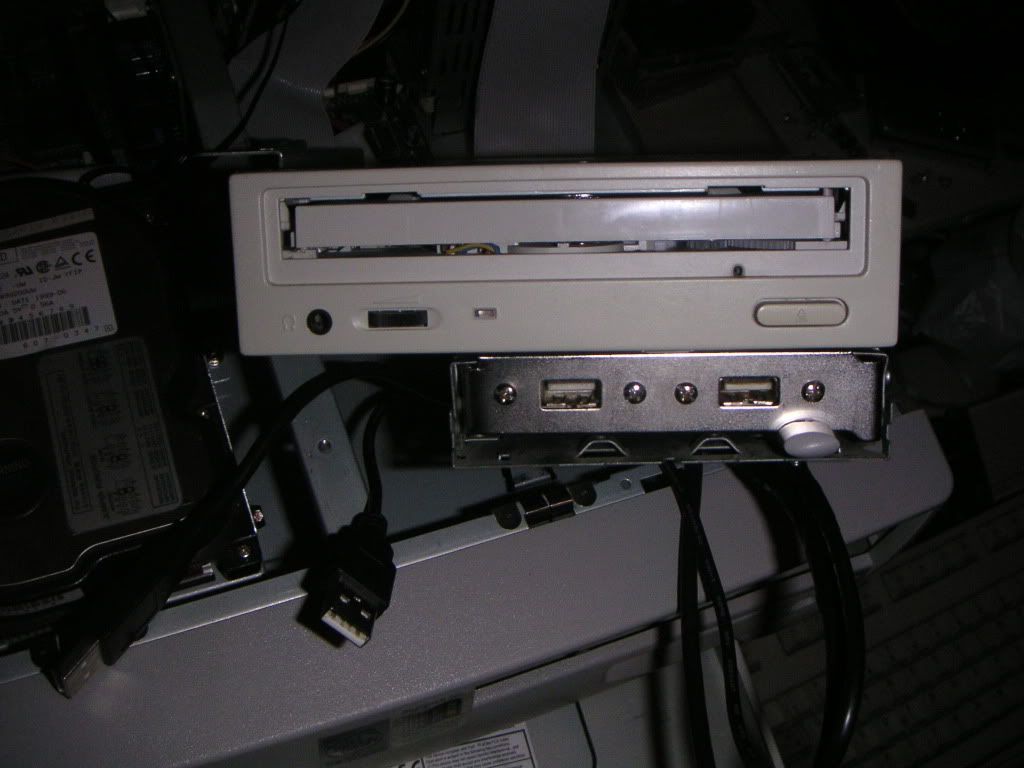
I mounted the USB hub in the card slot instead of the floppy drive this time. The reason for this is I picked up a few of these USB hubs for $3 a piece brand new, and I need to use them somewhere. Two ports stick out the back, and two ports have been extended to where the floppy drive is. There is a total of ten ports (nine if you exclude the one needed for the USB hub). I even took great care to put the floppy eject button back.


The DVD drive is a bit beat up, but it's all I currently have kicking around.

I didn't winterize this computer with a Compact Flash card because I don't have the parts to do so. If the person I built this for wants it winterized, I'll be happy to do it if he pays for the parts.

I had to use a jumper in the back to connect the USB hub to the USB card. The one in my garage has a fifth port internally which is why I was able to get away without a jumper cable.


Overall, I really do like this machine! However, the plans I have to upgrade my current garage jukebox go beyond this.

Tuesday, July 28, 2009

Chia Pet: How To Successfully Grow One

For quite some time, I've been wanting to grow a Chia Pet. Why? Probably just because everyone else has done it. I tried growing the Christmas Tree one, but all it did was turn into a Christmas Tree covered in crappy dried-out chia seeds. In other words, it didn't work.


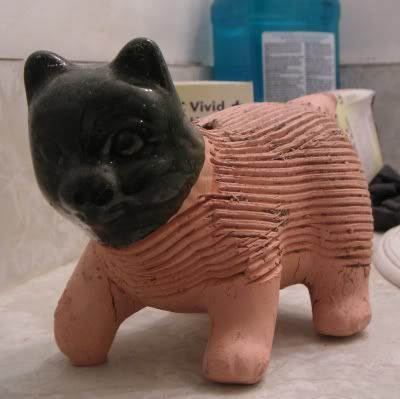
This past spring, I decided to try again. I bought myself a cheap Chia pet - the one with the cat head at a thrift store for two bucks. For two bucks, I couldn't go wrong


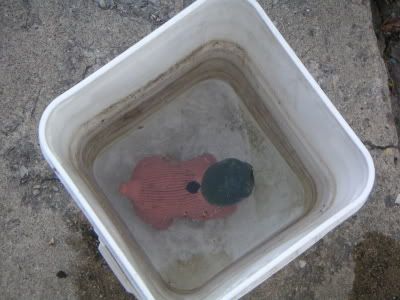
The official instructions with the Chia Pet are to soak it in water for one hour, or 24 hours, depending on how old the thing is. Since I don't know how old the cat one is and was too lazy to look it up, I soaked it for 48 hours.


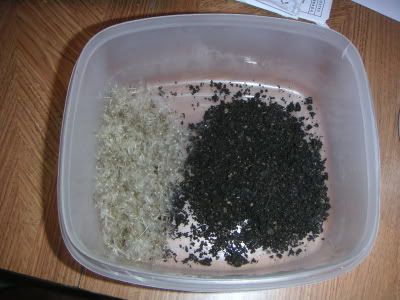
Next, instead of using the Chia seeds that didn't grow, I picked a bunch of Dandelion seeds. If there's anything you shouldn't be able to screw up, it's growing Dandelions.


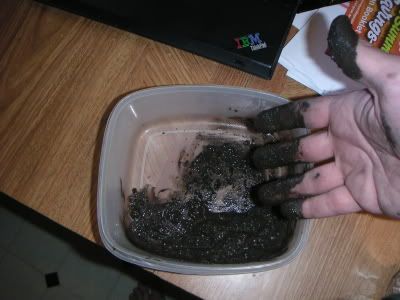
I grabbed some dirt from the garden, added water, and mixed the Dandelion seeds into the mud.


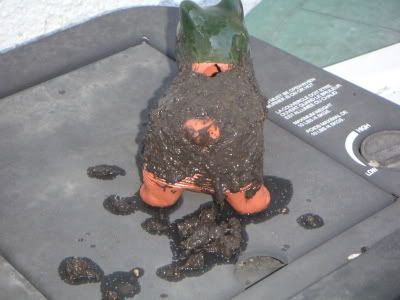
Afterwards, I slopped it onto the cat's body. Some leftover fell off, so it looks like the cat has taken a runny shit all over the place. Remember, if you're going to do this, do it outside!

After two weeks of caring for my Chia Pet the way I should, absolutely NOTHING grew on it. I was quite disappointed, and I left the goddam thing ouside to rot.


Two months later....


Sometimes, patience is everything!

Wednesday, July 1, 2009

External Hard Drive Made From Junk

I was bored this morning, so I built myself an external hard drive. Besides being bored, I need one for when I go out of town on business next week. I'm taking my laptop, my guitar, and recording some music instead of sitting around bored in my hotel room. My laptop's hard drive isn't large enough to hold a huge pile of .wav files, but a 60G external drive is!

First of all, you may remember version 2.x of my Garage Jukebox. It had three internal DVD drives and one external DVD drive. Since I upgraded the thing and started using flash drives, I no longer had use for the external DVD drive.

The drive was originally a CD burner I bought for $1.00 at a garage sale, and I hacked it into a DVD drive. So here I am yet again, hacking this thing.


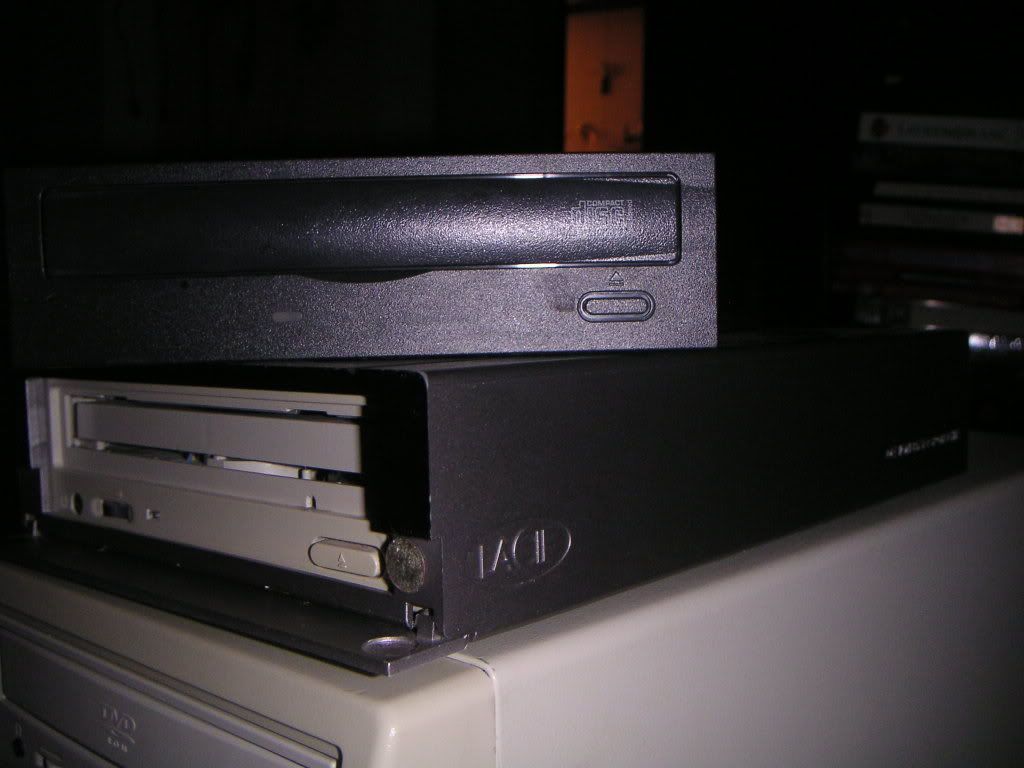
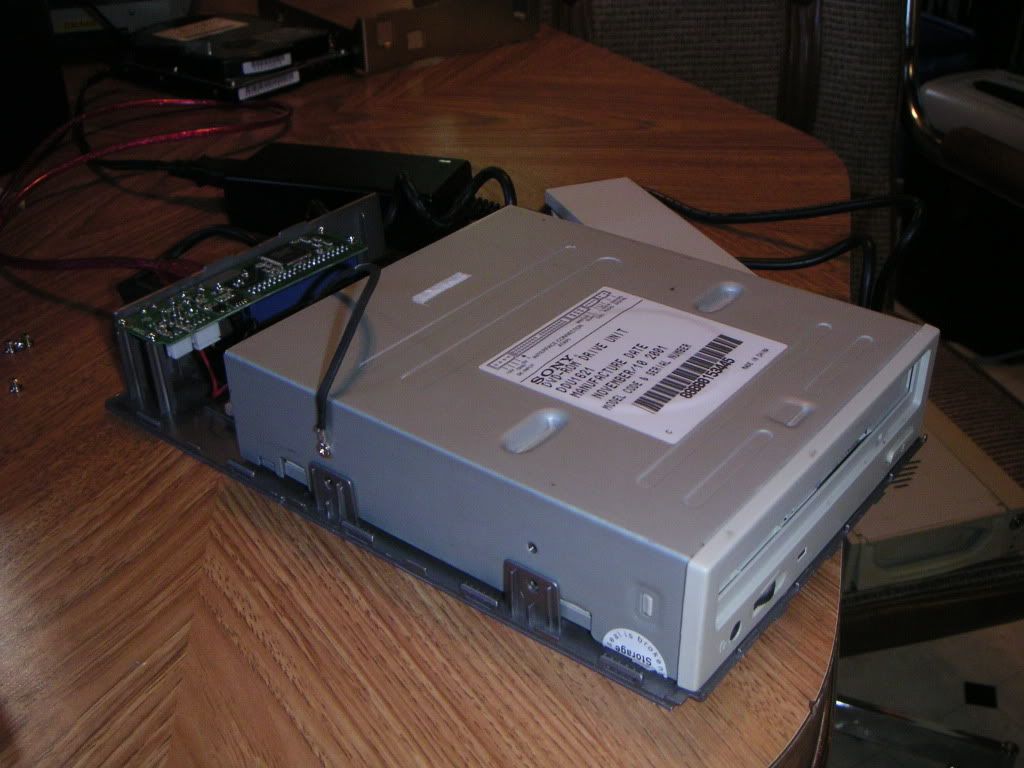
This is the picture of it with the original CD burner sitting on top.


If you'd like to build one of these things for yourself, here's a list of crap you'll need:

1 External USB CD/DVD Drive
1 IDE Hard Drive (any size)
1 5 1/4" to 3 1/2" hard drive adapter
1 5 1/4" cooling fan plate
1 Drill (for modifications!)
Misc Screwdrivers

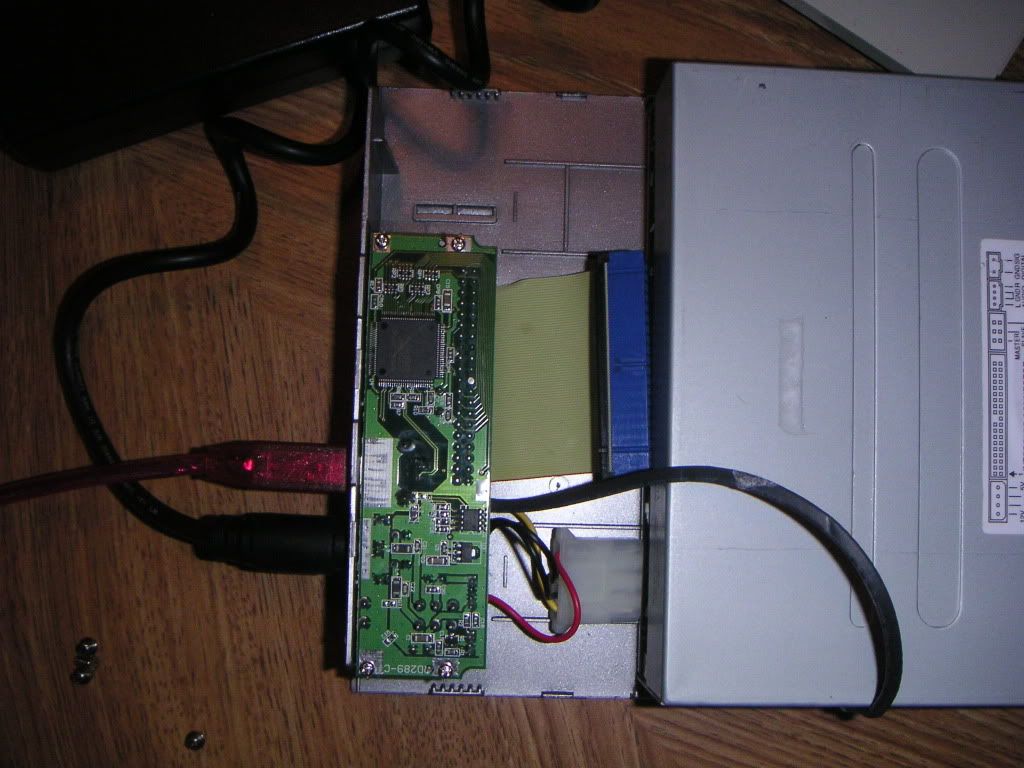
So, I take the thing apart. Here's a couple piccys of what it looks like when it's apart:


You'll notice that all they do is slap a regular IDE drive into the case with a simple adapter board. This particular version has a 'special' IDE cable (You may need to make note of this)

So, I remove the drive and prepare to install the hard drive. To properly get a hard drive into this thing, I needed an adapter that allows a 3 1/2" drive to fit into a 5 1/4" bay. You can usually find these things in old 386 and 486 desktop PCs, either with hard drives or 3 1/2" floppy drives. I believe this particular version had a floppy drive, so I had to drill a couple extra holes to make the hard drive mount properly.


I had to put in a slightly longer IDE cable because the old one wouldn't reach. The easiest way for me to accomplish this is taking an IDE cable out of an old PC and cut off the end that goes to the mother board. In other words, the connectors should be mounted on the same side of the ribbon cable. (sorry I don't have a piccy, the one I took turned out really blurry)


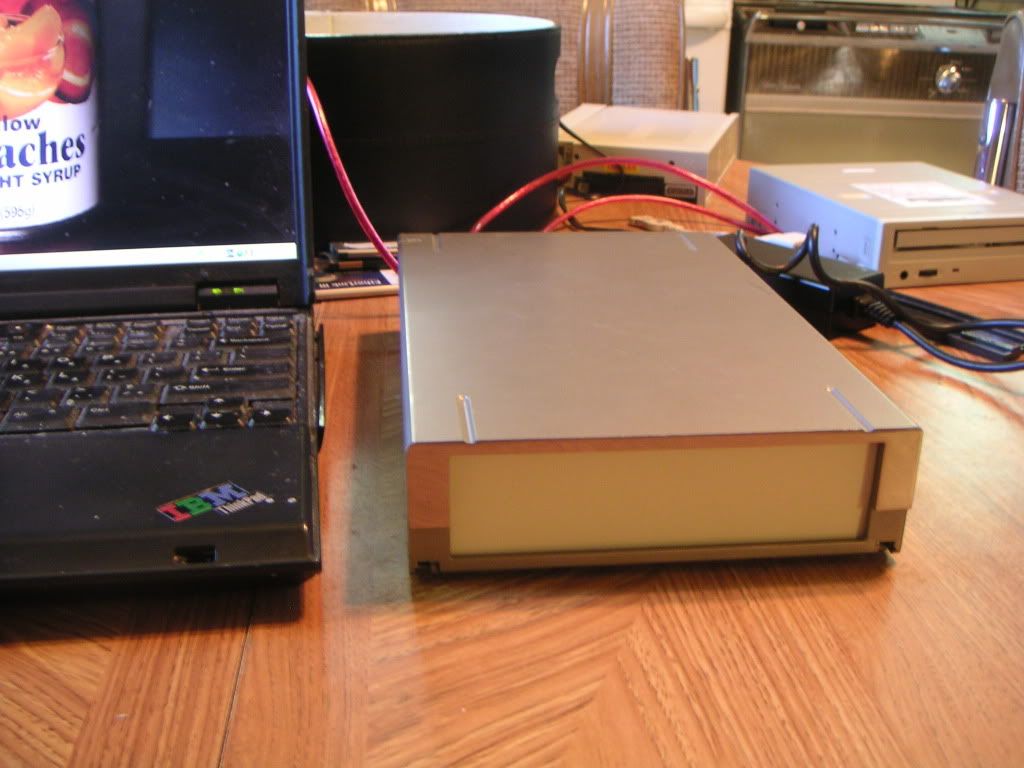
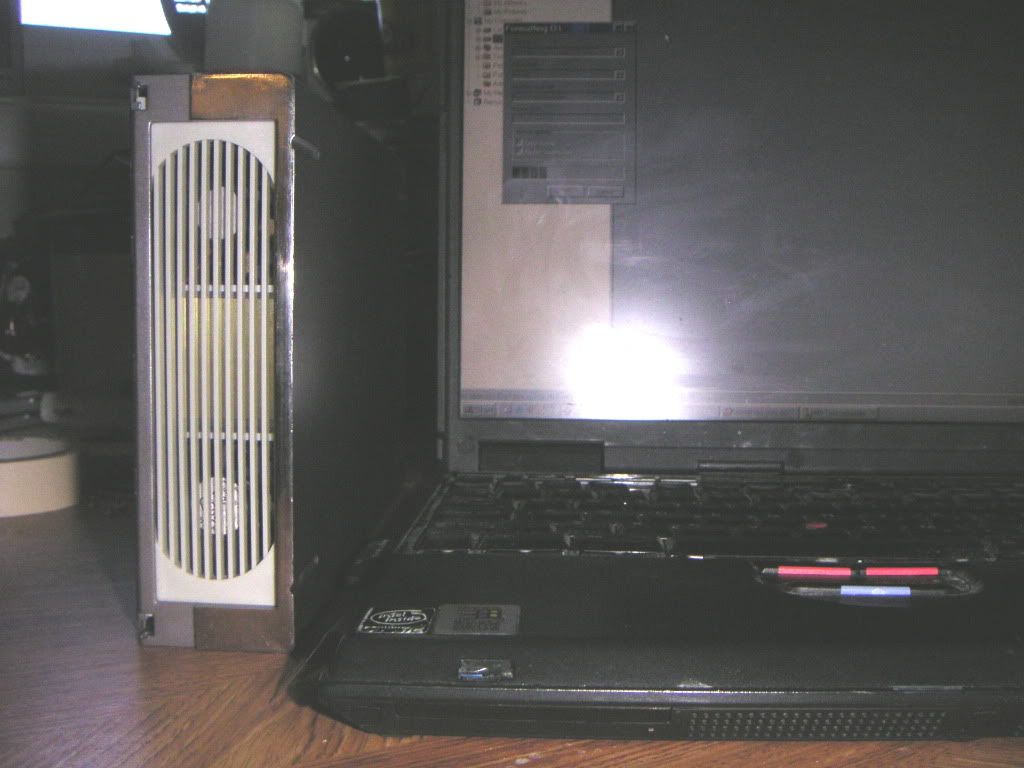
As you can see, I originally put a 5 1/4" bay plate in the front to seal it up nicely. However, the unit got pretty warm inside, so I took a nice 5 1/4" bay plate dual cooling fan thingy that I scrounged out of an old pc, cut the mounts off, and stuck it in place of the plate. It nicely interconnects with the hard drive which powers the whizzing goodness of the cooling fans.


So there it is, sitting nicely beside my laptop.

This drive happily works in Linux, which recognizes it as a 60G removable hard drive. Windows, however recognizes it as a LaCie external CD Burner AND removable media AND a Western Digital hard drive. How goofy is that? Regardless, it works fine in Windows.

Formatting was a bit of a different story. I tried to format the drive through USB in Windows, which took about 20 minutes and then told me that the format had FAILED. So, of course I tried using Linux.

Ubuntu has a tool built into it called "Gparted" which manages partitions, but it can also be used as a Live CD which can you can boot off. Gparted took about five seconds to successfully format the drive through USB.

So now, I have a nifty external USB hard drive to stuff all my .wav files on.

Incidently, I found the 60G hard drive in a box on hard drives I picked up from behind the computer recycling place. There were also a few 'interesting' things on the drive which I will be posting within the next entry or two.

Anyway, I hope you enjoy your new found knowledge and begin scrounging computer parts to make your own external hard drives! This would have cost me a couple hundred bucks brand new, but of course I prefer to spend $1.00, scrounge some parts, and take a bit of time to build something myself.

Saturday, April 25, 2009

Take Me To Floppytown!

I just had to do another post on playing music with a floppy drive. This time, I figured out how to do it with a PC floppy drive. I'll give you a hint: you can't use Windows to do this. Microsoft prefers to keep control of a PC's peripherals.

THE VICTIM:


A bad Sony 3.5" floppy drive I ripped out of some PC.

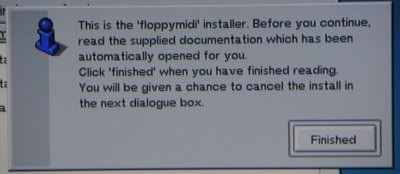
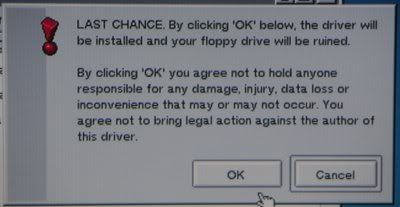
Setting this thing up was simple. First, I installed the OS. Then I tried to install the driver which failed. Then I went and got a newer version of the OS and installed that. I then installed the driver. This was such a memorable experience, that I decided to take photographs (I was too lazy to look for a screen capture program). First, the usual info box:


Of course I just closed the readme file and clicked Finished...


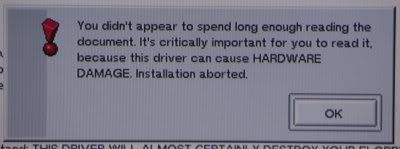
Fucking bastard thing. I ran the driver again and left it for like 5 minutes because the readme file is LOOOONNG!


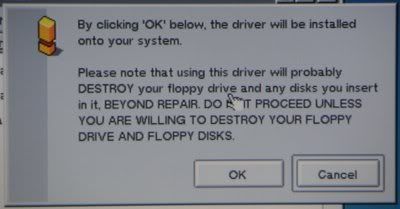
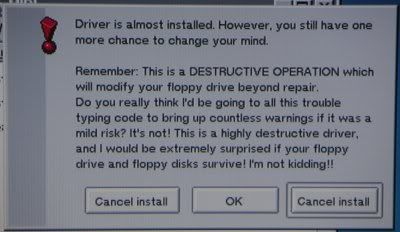
OK, I understand. Let's proceed...


OKAY, I GET IT! I'm about to fuck up my hardware. I KNOW! Let's proceed!


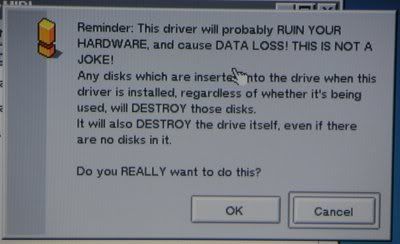
JESUS FUCKING CHRIST!!!! ENOUGH ALREADY!!!!


Holy motherfucking cocksucking goddam piece of shit software. By now, I'm ready to say 'fuck this' and throw the goddam computer against the wall and make a blog entry about that.


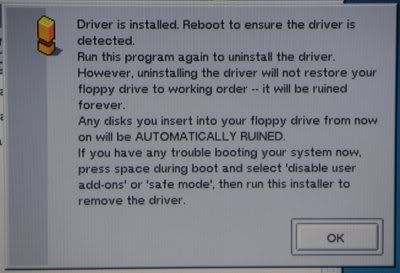
Okay, now I feel bad. Thanks alot Mr. Driver, now you make me want to uninstall you.


....naaah, I'll just give the floppy drive a respectful burial in my back yard out behind the trashcans.

After that long-ass installation, I experienced musical nirvana. Here's two video clips. I close-mic'ed it for clarity, and because the PC powering this thing was a bit noisy.


Tuesday, September 30, 2008

Apple Hacking

I recently saved another lot of computers from the big bad computer 'recycling' depot. As you may recall, they just take whatever they want out of the computers and then toss them in the dumpster.

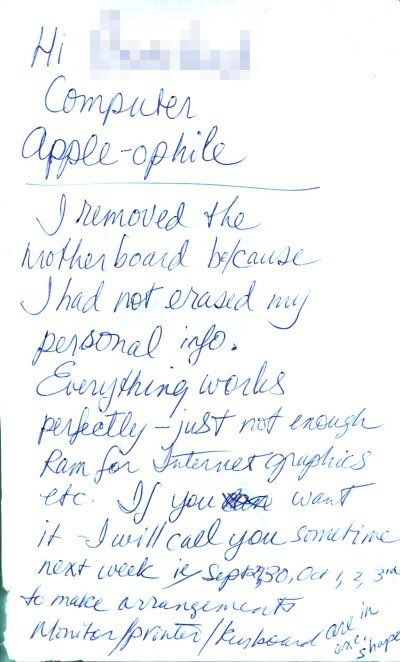
Anyway, I got an Apple Power PC in this lot. When I got it home, I noticed that some of it was missing. Instead of a motherboard, the previous owner stuffed in a little note:


Unfortunately, they left the hard drive inside!

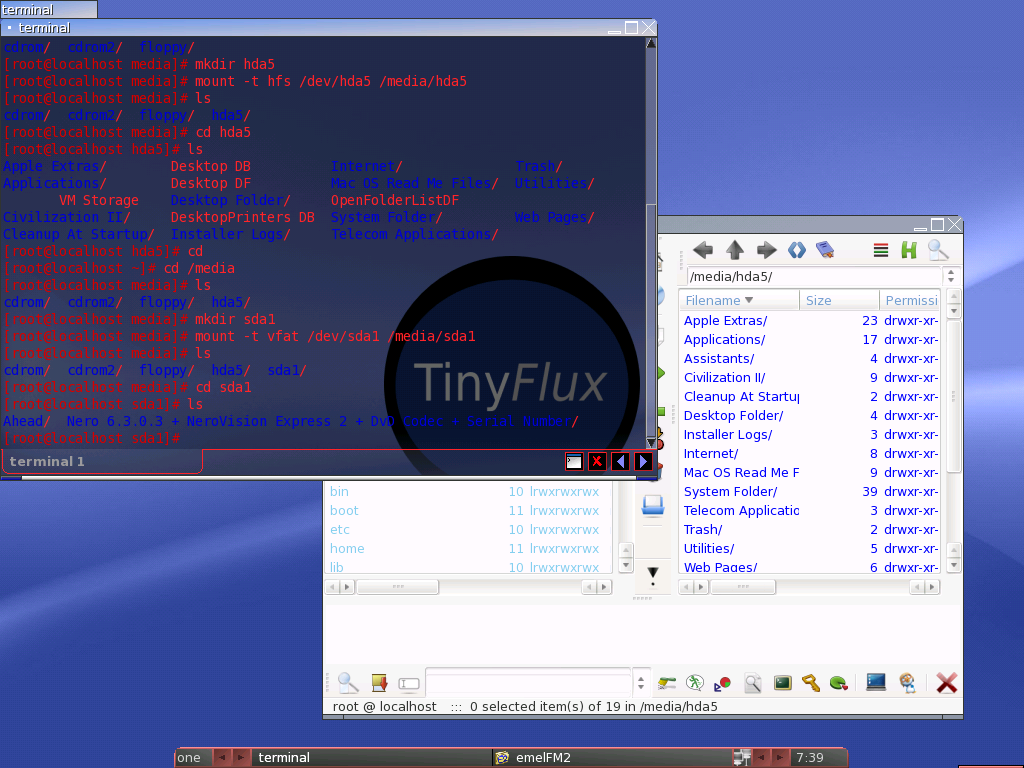
Since the motherboard is gone, I have no way of browsing this hard drive on the original machine. So, I took out the hard drive (which in this case was an IDE drive) and tossed it into a PC. I fired up a Linux live CD, mounted the drive, and I'm now able to see all the goodies included on it!


So far, it doesn't look like there's anything worth taking. Oh well, one of the other PCs was quite fruitful with data, so I'll be posting some goodies off that once I'm finished with the Kacey Beach PC.

Saturday, August 16, 2008

Why DRM Sucks and How To Remove It From Your Music


In the past, I've heard plenty about Digital Rights Management (all negative) but I've never had the 'pleasure' of experiencing it until today. Digital Rights Management (DRM) is basically a way of protecting music files from being excessively pirated, using proprietary software to play and manage the files.

Recently, I made use (took advantage) of a free 5 song download promo. I ended up downloading two albums that I've been looking for that are no longer in print. One was Super Transatlantic's Shuttlecock album, and the other was the first album by B'ehl. You may recall me writing about their second album here. I've been trying to track down their first album without success... until today.

The Super Transatlantic album posed no problems. It plays fine in Linux and is in .mp3 format. The B'ehl album, however, is a different story. It was only available in .wma format, which means I'm required to use Windows Media Player to listen to it.
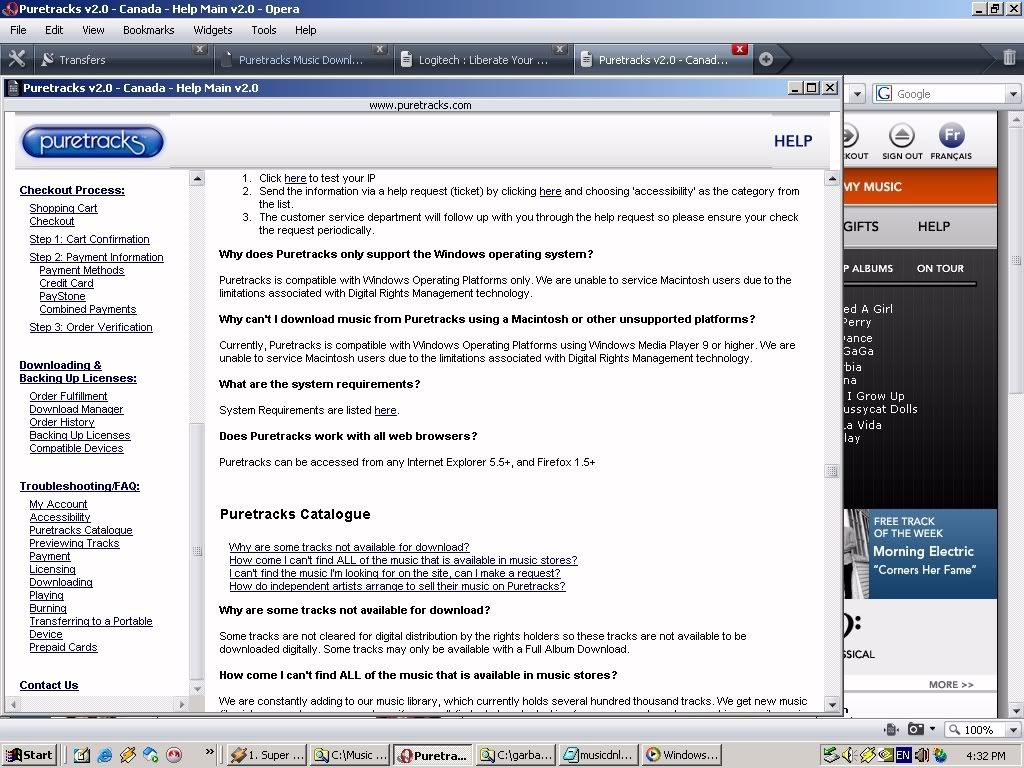

Puretracks doesn't even mention Linux, nor the Opera web browser

So anyway, I go to download the songs from puretracks. Windows is required to download the music, using their special .exe downloader to get your music. Okay, so I boot into Windows and run it. After the first set of songs download, I try playing one. Something was wrong with my copy of Windows Media Player: it immediately crashed. So, I go download the newest version I can get (Media Player 9 for Win2k - Hey, I hate XP!)

Knowing Microsoft's stupid fucking way of doing things, I tried downloading it with Internet Explorer 6. The download only half completed, and IE told me it was finished. Of course the piece of shit thing didn't run. So, I tried downloading it with Opera. Success! Go figure, Microsoft's web browsers suck.

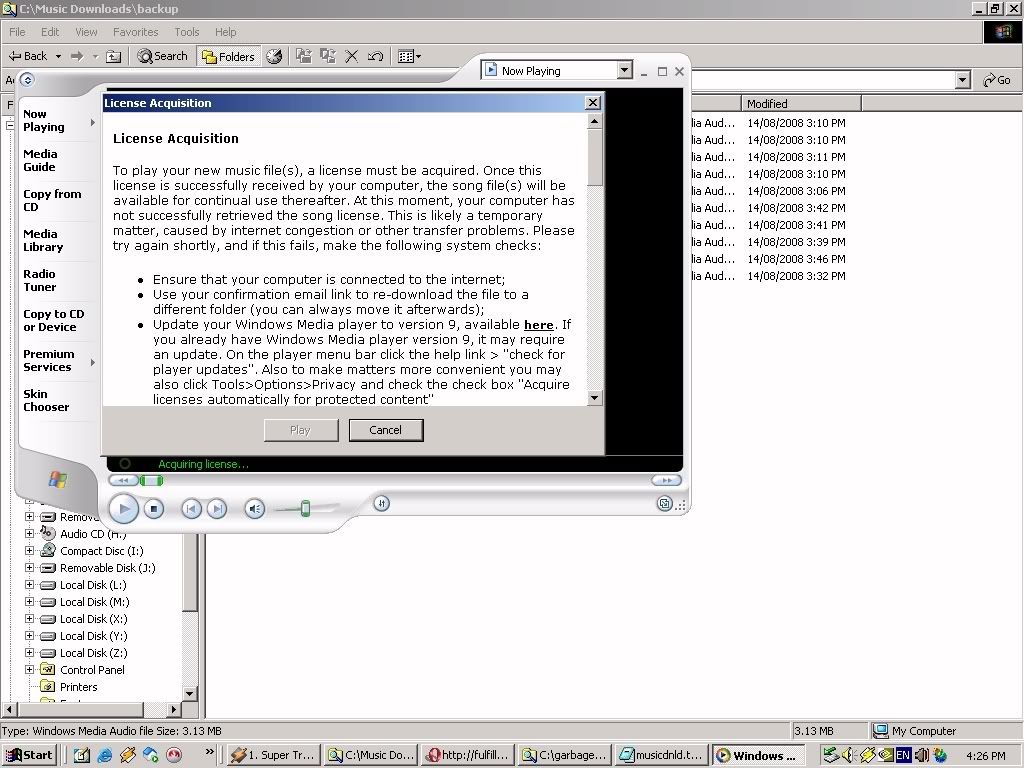
So, the thing installs and runs. I double click on one track, and WMP starts bitching about needing a license to play the song. So, I try looking into the problem, and recieved a suggestion that I do an update to the Media Player. I try, and it's up to date. Second suggestion, update the DRM fuckware, which I did. Still nothing.


As far as the downloads were going, one file was being incredibly stubborn (it kept stalling) so I tried to re-download it. The stupid shitty puretracks download manager only lets you download what is in its queue; in other words, you have no control over what downloads and when. You simply have to do what it tells you. So, to download the stubborn file, I had to go back to their crappy website and download a new download manager with only the one song in the queue.
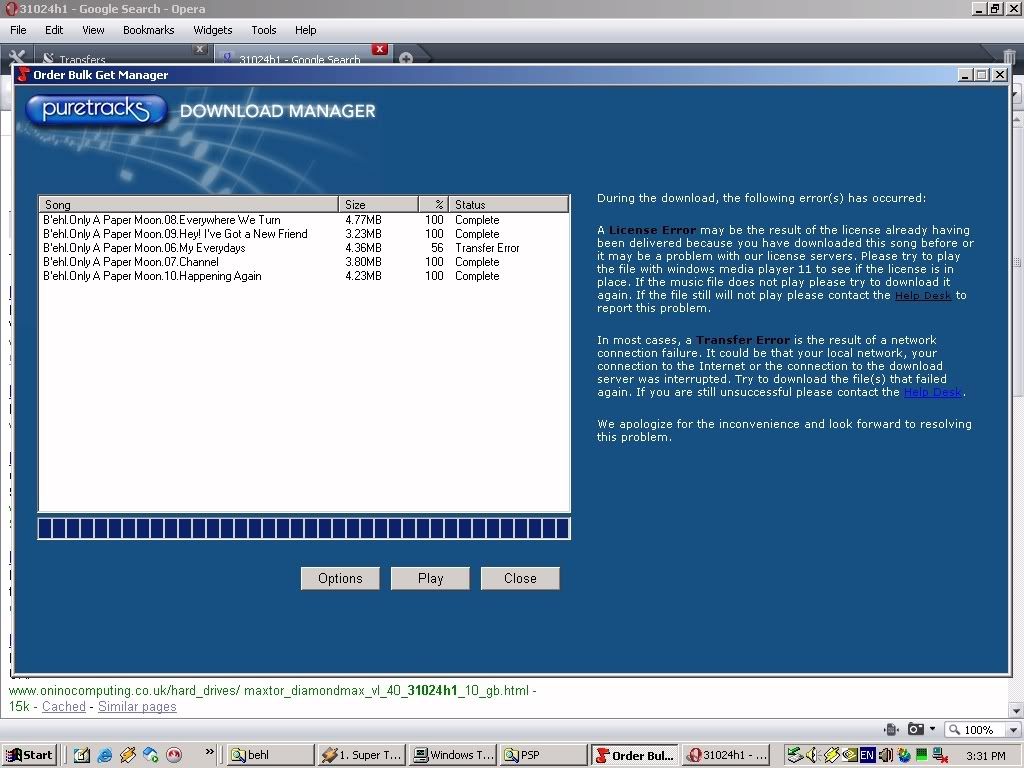


I was finally successful in downloading the track. I tried playing it and it magically played. Now, I had to figure out what the hell was wrong with the other 11 tracks that wouldn't play.

Simple answer: I needed to have the latest Windows Media Player installed BEFORE I downloaded the music. So now, I have to re-download ALL the songs that I've previously downloaded multiple times already.

DRM IS A PAIN IN THE ASS.

Anyway, I FINALLY successfully downloaded all the songs, and each one is playable. Now, since I use Ubuntu as my primary operating system, I have to remove the DRM from the files and convert them to a Linux-Friendly format. Here's how to do it...

First of all, you need another computer with a sound card. Behold, my spare PC:
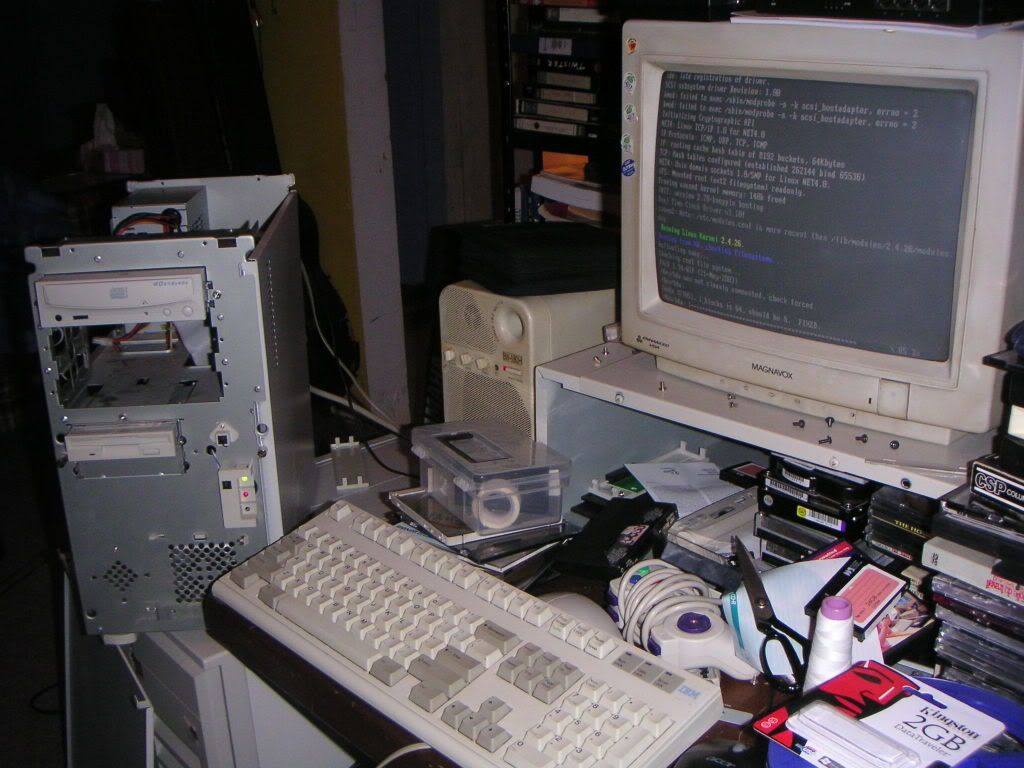


866MHz, 1G RAM, and it's almost never assembled. I connected a hard drive with a copy of Damn Small Linux I was using for testing purposes. It already had Audacity (music recording software) installed, so I was all set to go! Audacity is also available for Windows, and it's free. Don't use that "Sound Recorder" that comes bundled with Windows because it's a piece of junk that Microsoft hasn't updated since the Windows 3.1 days.
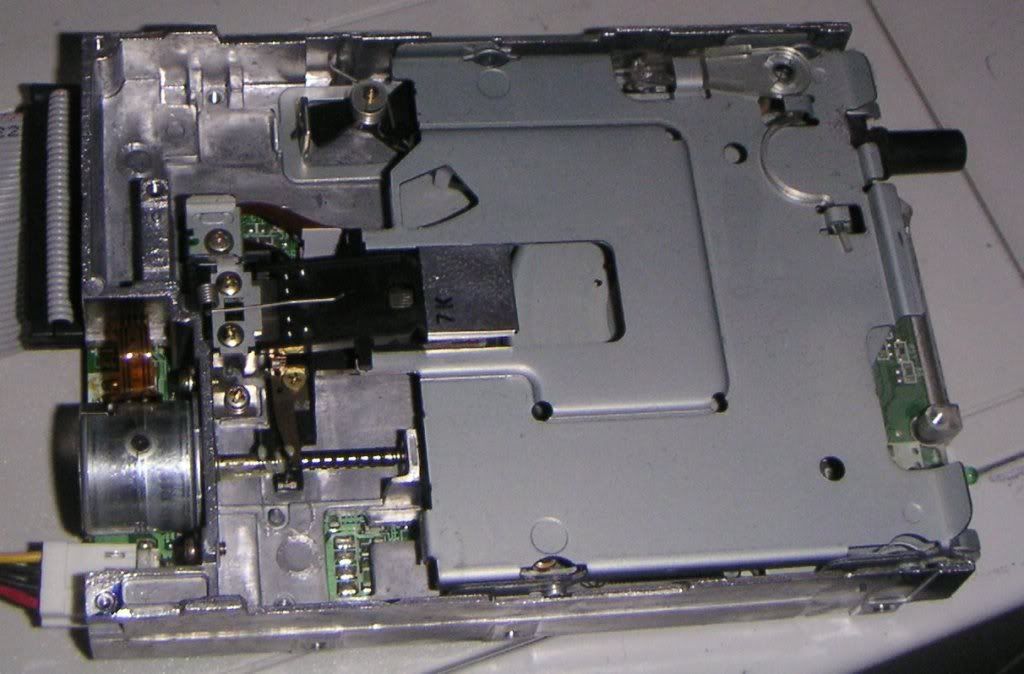
Next, I connected a patch cable from the LINE OUT of my computer with the WMA files on it (Source), to the LINE IN of the computer that I planned to transfer my DRM-Free music to (Destination)

I started recording on the Destination computer, loaded up all the files in the Windows Media Piece-of-shit and hit play. If you decide to take on this hideous task, you may want to do a test to make sure that your software is recording the music before you let it run for 40 minutes (or however long your tracks add up to) just to make sure everything is functioning properly. You can also split the tracks later with Audacity.

After I was all done recording and splitting the tracks, I save them as 16-bit .wav (you can save them as any format you want). I copied them all to a flash drive and moved them back to my source computer. They now play in Linux! Oh yeah, and instead of the limited 3 burns puretracks let me have with Windows Media Player, I can now burn it as many times as I want!

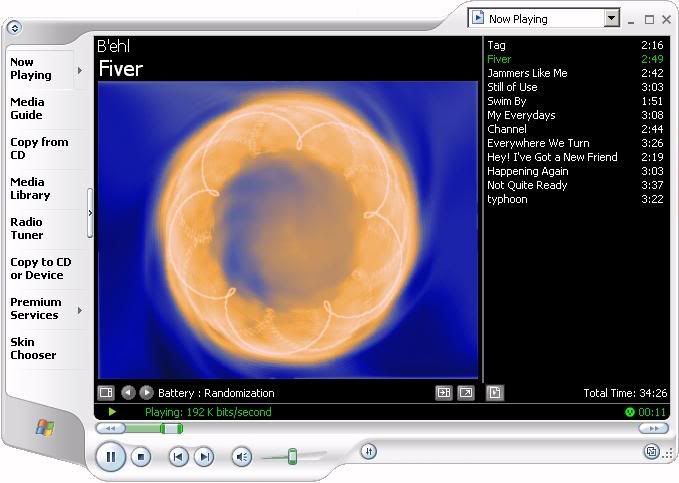
Click on Windows Media Player to hear the DRM-Free Music!